Spiraling from this free crochet peppermint hat pattern are all the merriest moments of the winter season—the crinkle of wrappers between frostbitten fingers, the cooling taste of mint in your mouth, and the red stain of candy left on your laughing tongue.
While you patiently wait for the first flakes to fall, there’s no better way to celebrate the snowiest season than with this free crochet peppermint hat pattern!
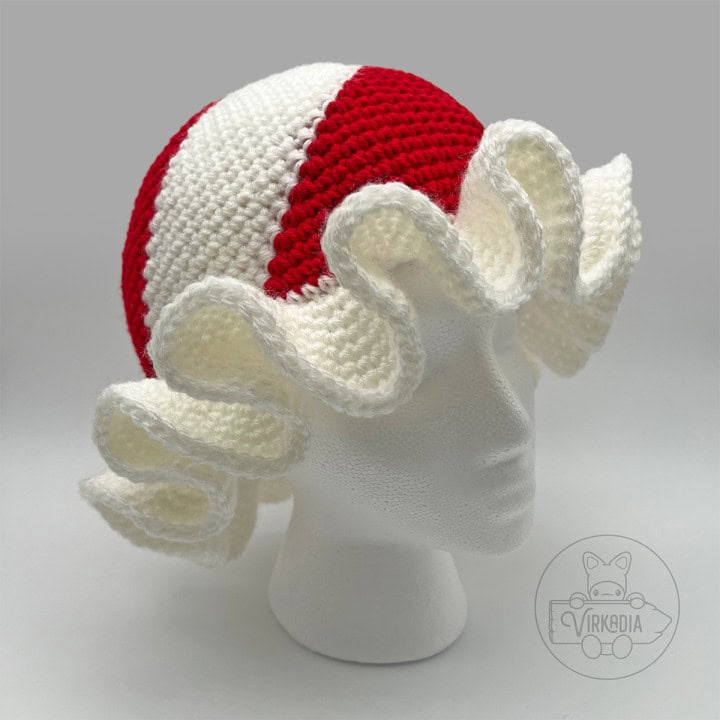
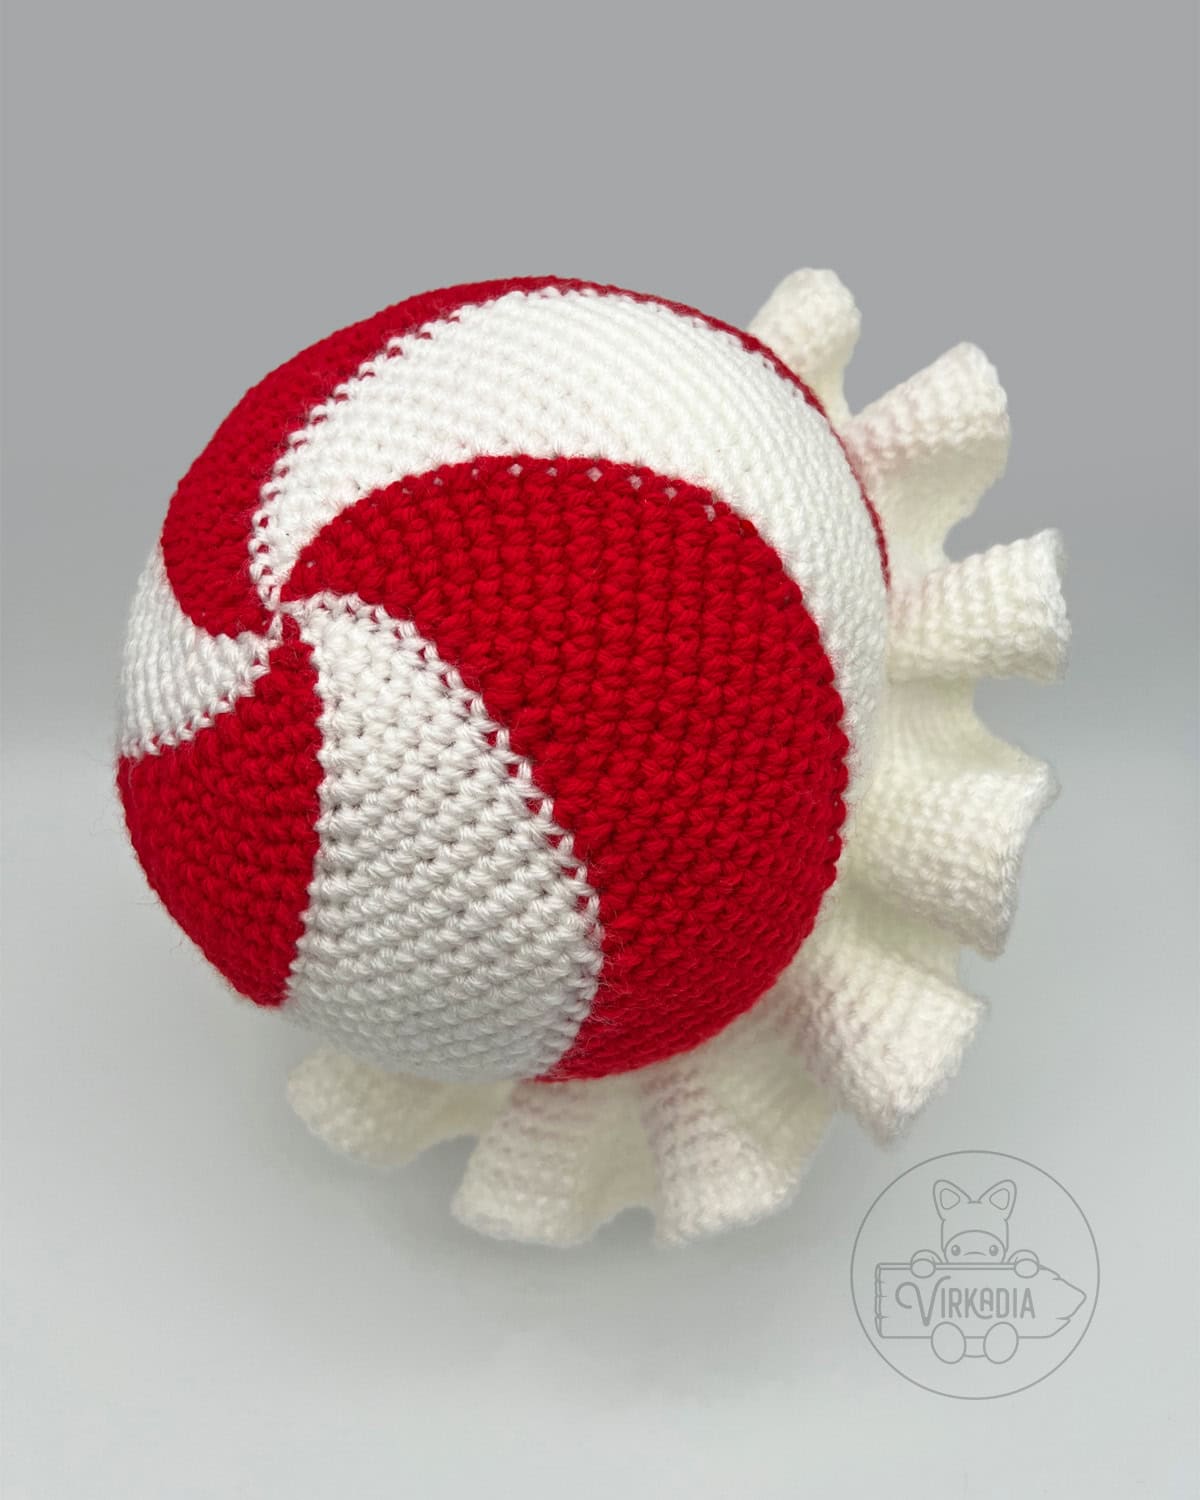
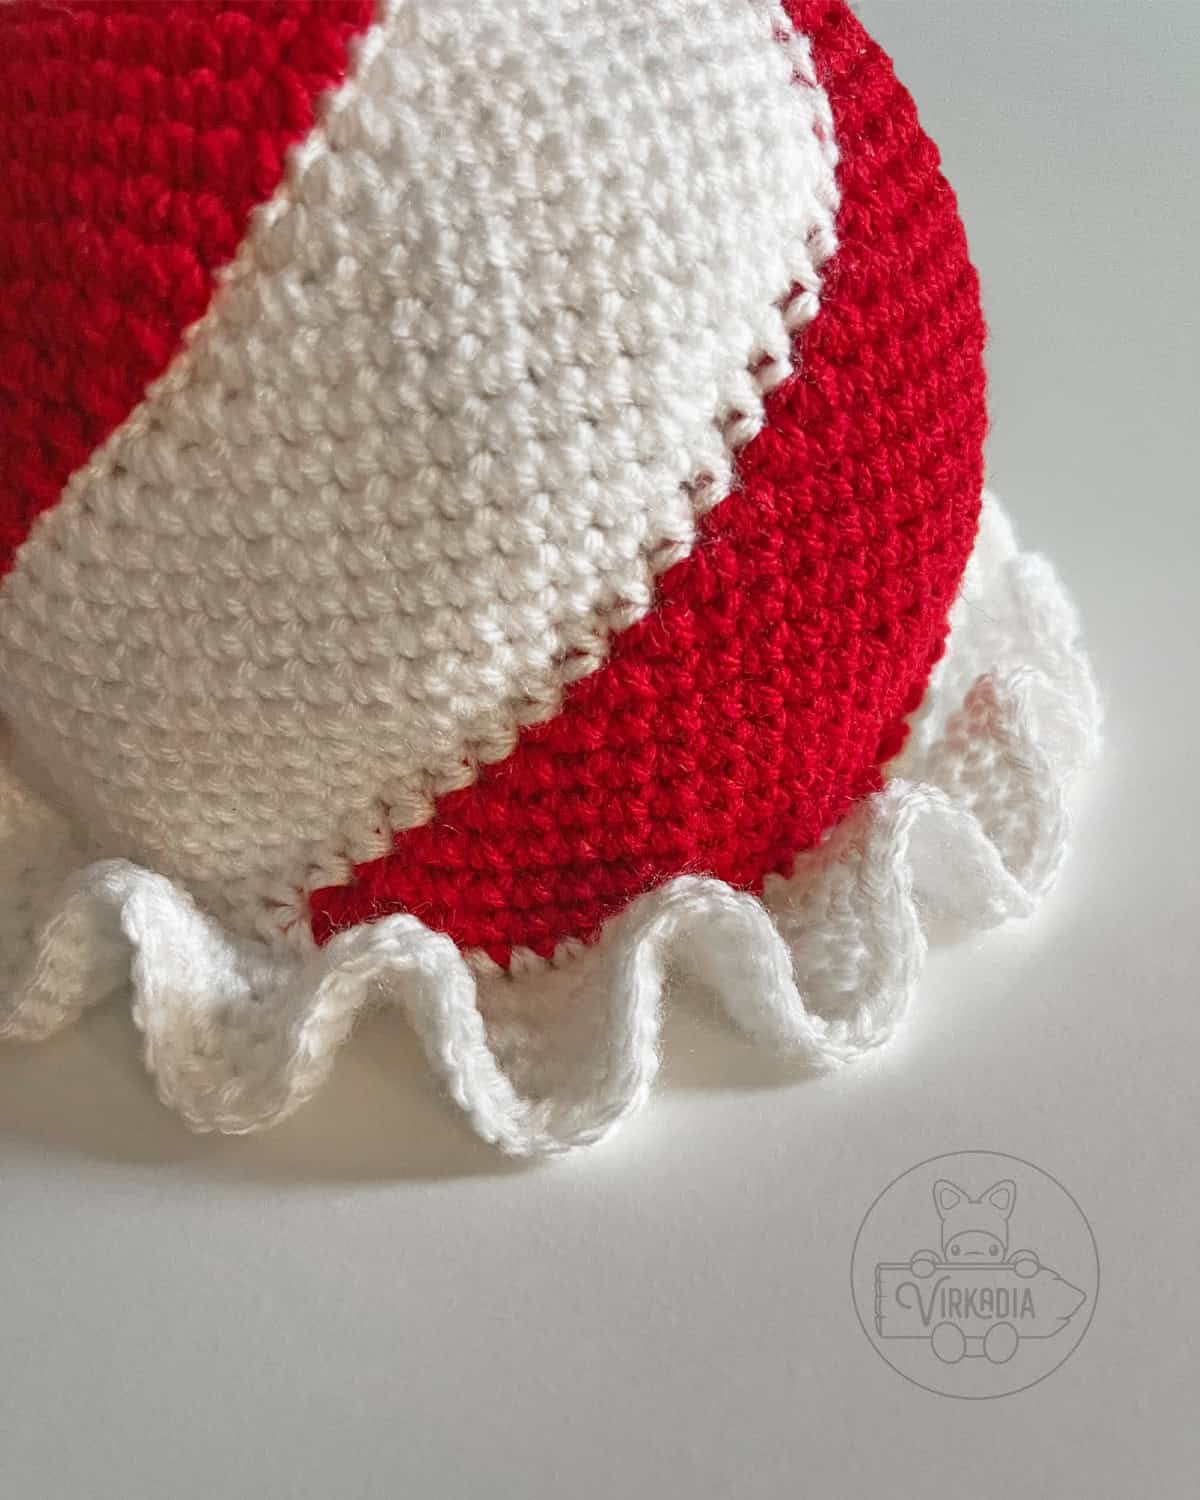
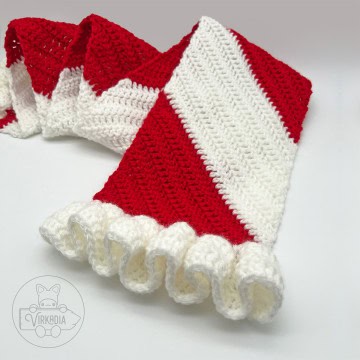
So, without further ado, here is the pattern for the Peppermint Hat, complete with red and white spirals and wrapper-like ruffles!!
Pattern Information | Free Crochet Peppermint Hat
This free crochet peppermint hat pattern has a difficulty rating of intermediate.
The finished circumference of the hat is approximately 23.5 inches around, and fits most adult heads.*
You may also make your pieces larger or smaller by increasing or decreasing your yarn weight and/or hook size, respectively.
*Finished dimensions are calculated from a model using medium weight yarn, a size I-9 (5.5 mm) crochet hook, and the following gauge: 14 sc x 17 rows = 4 inches.
And don’t forget to add your project on Ravelry!
Supplies:
- Size I-9 (5.5 mm) crochet hook
- Medium (4) weight yarn in 2 colors:
- Yarn A – white (example uses Red Heart Super Saver: Soft White)
- Yarn B – red (example uses Red Heart Super Saver: Cherry Red)
- Yarn needle
- Scissors
- Stitch markers (optional)
Terminology:
This free crochet peppermint hat pattern uses English (US) terminology:
- st (sts) = stitch (stitches)
- ch = chain stitch
- sl st = slip stitch
- sc = single crochet
- sc2tog = single crochet 2 together (over the span of 2 stitches), also known as a decrease
Please note that this pattern is written so that each crochet stitch abbreviation is attached to a number, such as 1sc, 2sc, etc. This number denotes how many of that stitch is to be worked into the same stitch.
In other words, 1sc = one single crochet, whereas 2sc = two single crochet worked into one stitch, also known as an increase.
You can learn more about how to read Virkadia patterns on our Pattern Help FAQ page!
Special Stitch Instructions:
Please review our special stitch instructions on our Stitch Tutorials FAQ before beginning, as some techniques may be unique to this pattern.
You can also watch our amigurumi techniques video tutorial for all of our tips and tricks for improving your projects when working in the round!
This free crochet peppermint hat pattern uses the following special stitch tutorials:
- Joining Rounds
- Changing Colors Mid-Round
This pattern is worked in the round, with each round joined at the end with a slip stitch. Unless otherwise instructed, the first stitch of your next round will always be worked into the same stitch as your joining slip stitch has been worked into.
Be sure to always keep the ‘right side’ of your stitches facing outwards as you work. The right side is the front side of the stitch that is facing you as you are completing each stitch.
Changing Colors Mid-Round:
This free crochet peppermint hat pattern uses a mid-round color changing technique, as seen below, to create its bold spiraling colors.
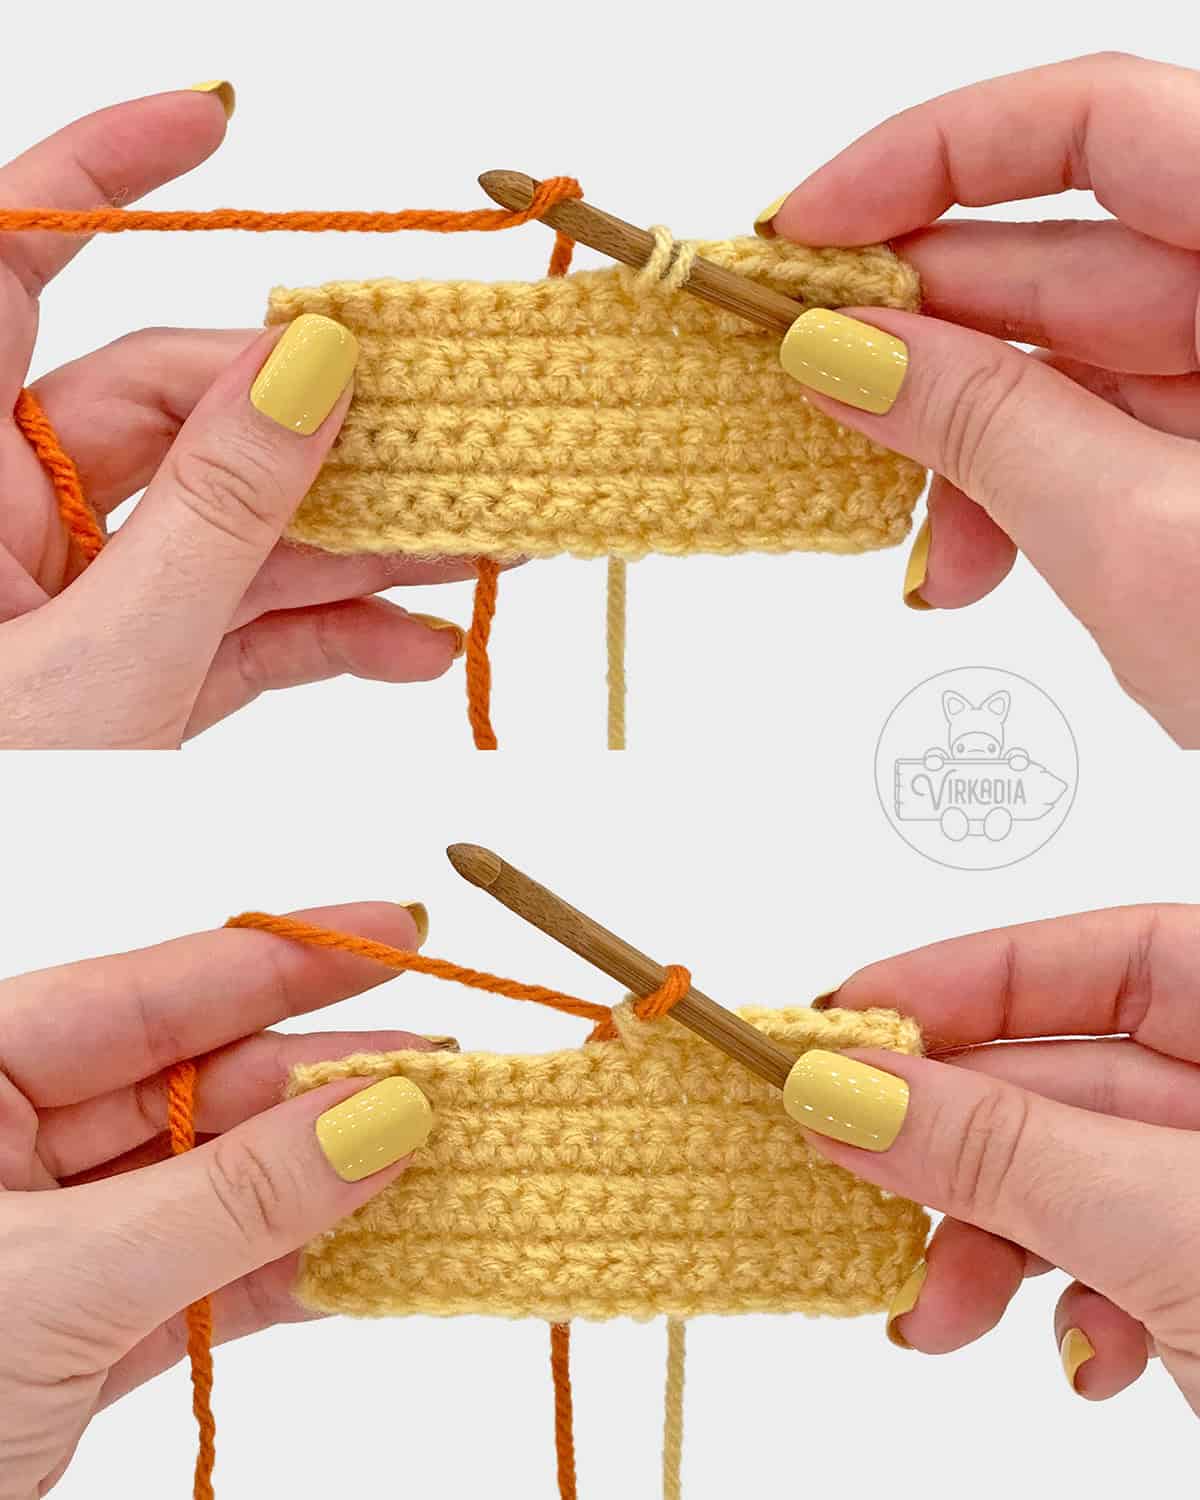
This color changing method begins in the stitch immediately before the stitch that you want to be a different color. Begin this stitch as normal by inserting into the next stitch (or two stitches, if decreasing), yarning over, and pulling through.
Before the last pull through, drop your current color and instead grab the color you want to change to. Yarn over this new color and pull through both loops.
After dropping a color, you do not need to cut it off. Instead, you may allow your yarn to ‘float’ in the back, or interior, of your work until you are ready to pick it up again, or work over them as you go. Just be careful not to let these strands be pulled too tight when you pick them back up!
Alternatively, you may also create a moderate amount of slack in your yarn between dropping it and picking it back up. Later, you may then cut these strands and tie them together in pairs to secure your color changes.
Choose whichever method works best for you!
Pattern Instructions | Free Crochet Peppermint Hat
Crochet Peppermint Hat Crown - Rounds 1 to 15:
With yarn A (white), chain 2. Have yarn B (red) on standby, as well.
The example crochet peppermint hat begins color changing during the first round, which can difficult for some crocheters since the beginning round is so small.
For an optional, easier variation, you may instead replace round 1 with a standard round using only one color (6sc into 2nd ch from hook, join, ch 1).
If choosing this method, you’ll begin color changing during the 2nd round instead, then continue as normal. Choose whichever method works best for you!
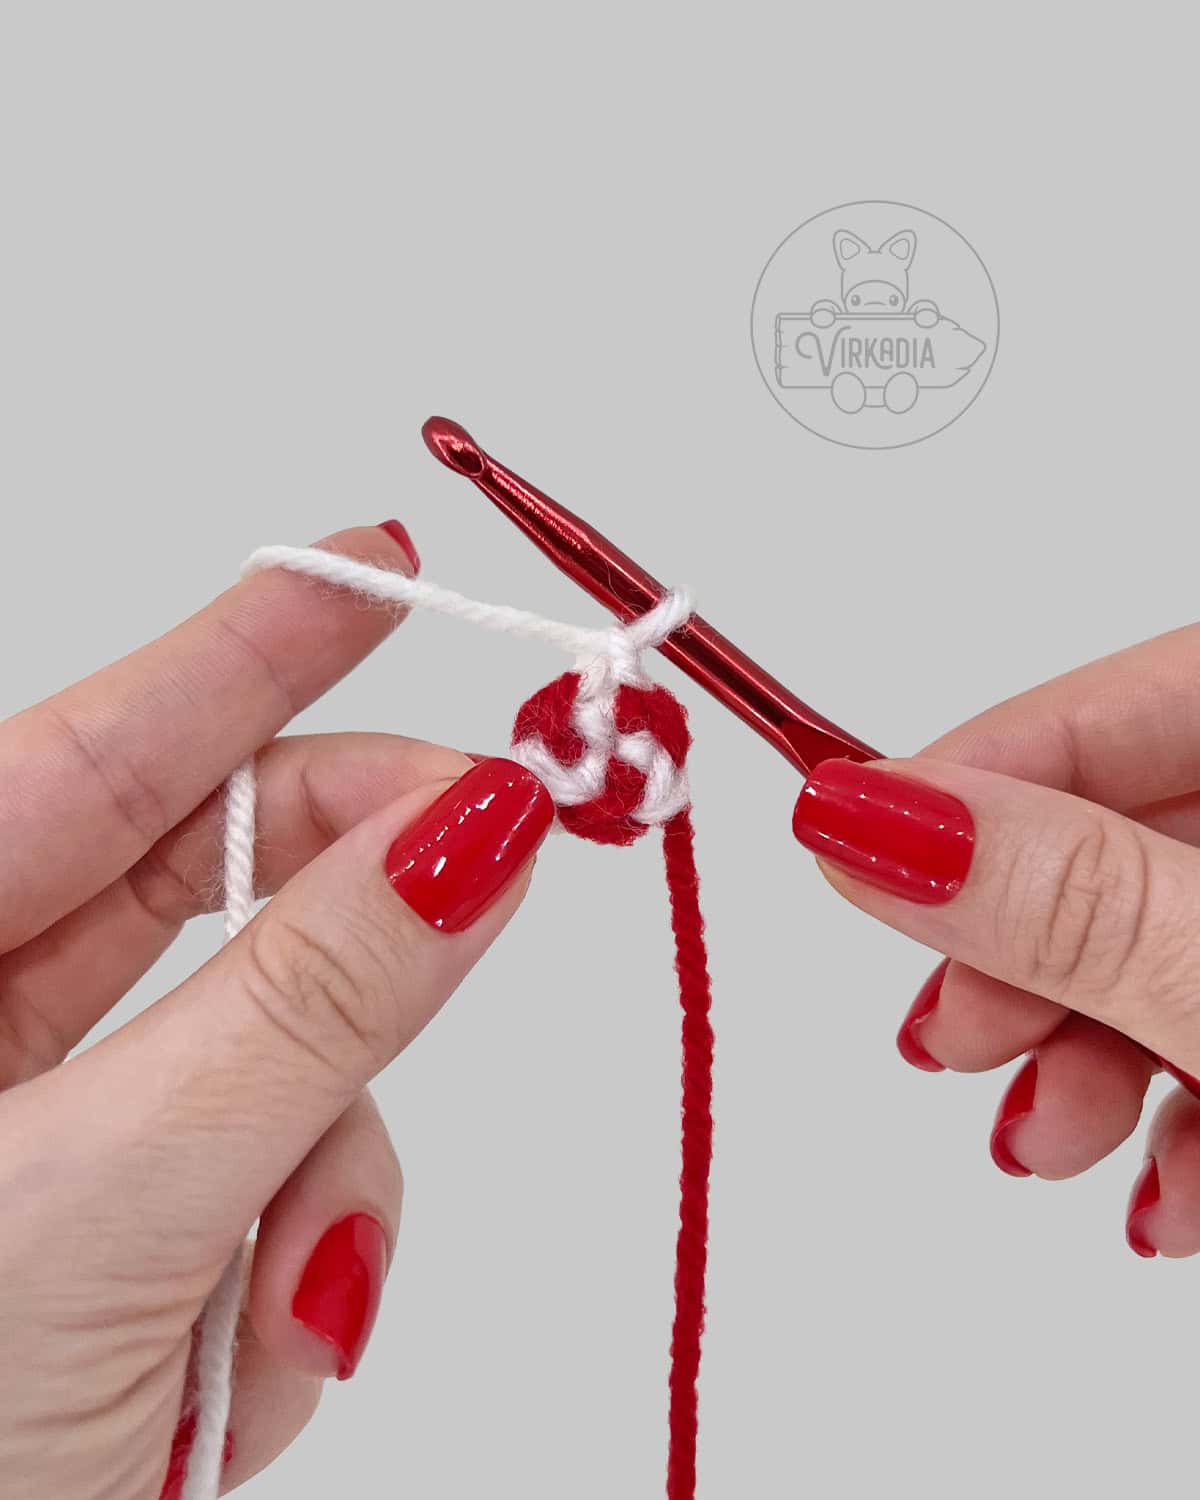
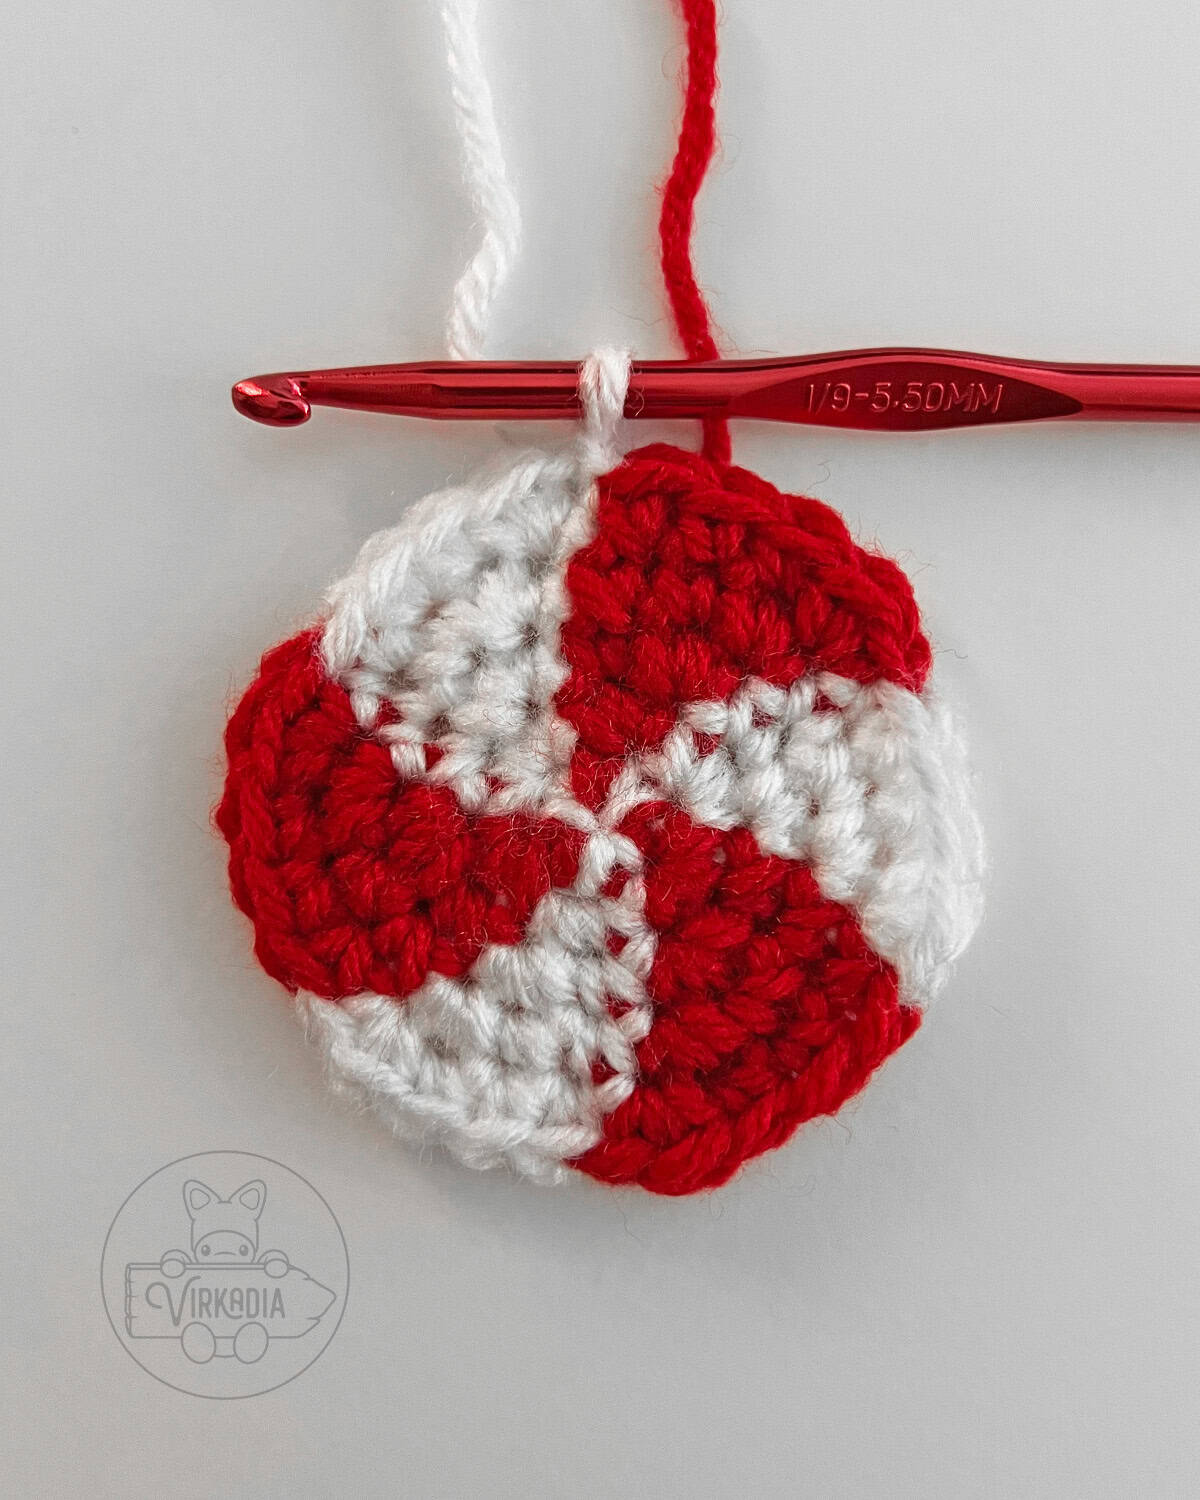
Rnd 1: 1sc into 2nd ch from hook and change to yarn B, 1sc into same ch and change to yarn A, [1sc into same ch and change to yarn B, 1sc into same ch and change to yarn A] 2 times, sl st into 1st st to join, ch 1 (6).
Rnd 2: [2sc into next st and change to yarn B, 2sc into next st and change to yarn A] 3 times, join, ch 1 (12).
Rnd 3: [2sc into next st, 1sc into next st and change to yarn B, 2sc into next st, 1sc into next st and change to yarn A] 3 times, join, ch 1 (18).
Rnd 4: [2sc into next st, 1sc into each of next 2 sts and change to yarn B, 2sc into next st, 1sc into each of next 2 sts and change to yarn A] 3 times, join, ch 1 (24).
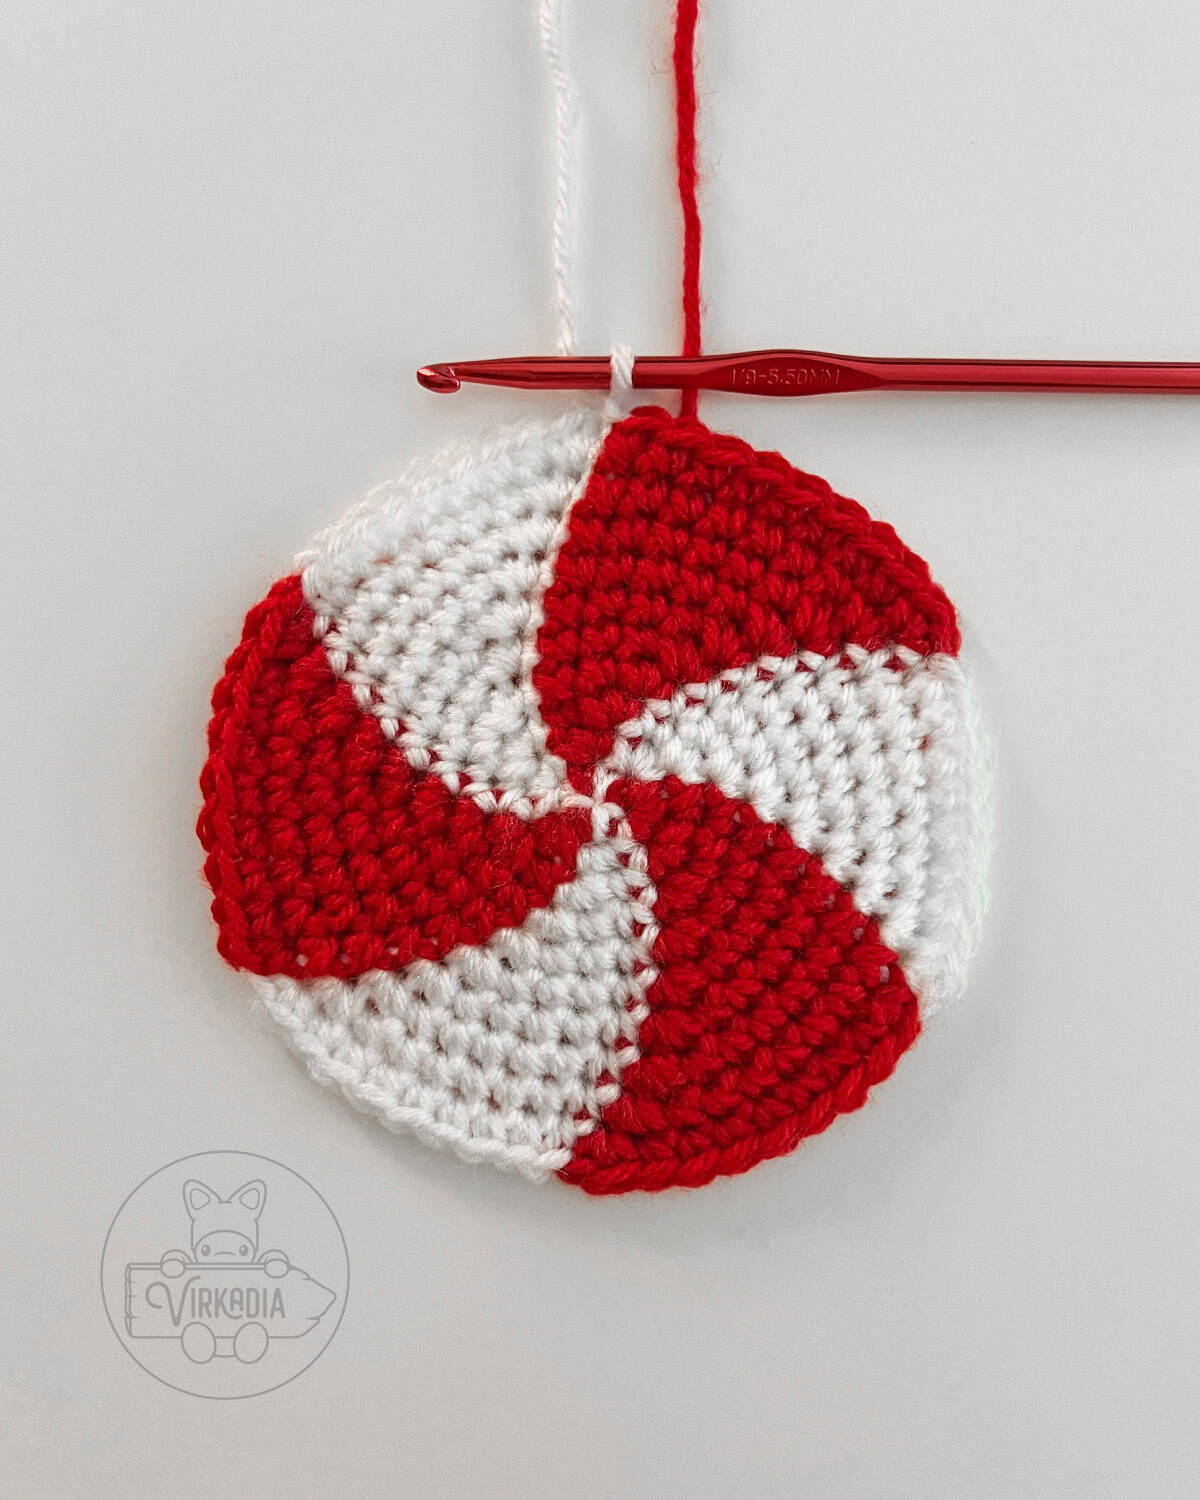
Rnd 5: [2sc into next st, 1sc into each of next 3 sts and change to yarn B, 2sc into next st, 1sc into each of next 3 sts and change to yarn A] 3 times, join, ch 1 (30).
Rnd 6: [2sc into next st, 1sc into each of next 4 sts and change to yarn B, 2sc into next st, 1sc into each of next 4 sts and change to yarn A] 3 times, join, ch 1 (36).
Rnd 7: [2sc into next st, 1sc into each of next 5 sts and change to yarn B, 2sc into next st, 1sc into each of next 5 sts and change to yarn A] 3 times, join, ch 1 (42).
Rnd 8: [2sc into next st, 1sc into each of next 6 sts and change to yarn B, 2sc into next st, 1sc into each of next 6 sts and change to yarn A] 3 times, join, ch 1 (48).
Rnd 9: [2sc into next st, 1sc into each of next 7 sts and change to yarn B, 2sc into next st, 1sc into each of next 7 sts and change to yarn A] 3 times, join, ch 1 (54).
Rnd 10: [2sc into next st, 1sc into each of next 8 sts and change to yarn B, 2sc into next st, 1sc into each of next 8 sts and change to yarn A] 3 times, join, ch 1 (60).
Rnd 11: [2sc into next st, 1sc into each of next 9 sts and change to yarn B, 2sc into next st, 1sc into each of next 9 sts and change to yarn A] 3 times, join, ch 1 (66).
Rnd 12: [2sc into next st, 1sc into each of next 10 sts and change to yarn B, 2sc into next st, 1sc into each of next 10 sts and change to yarn A] 3 times, join, ch 1 (72).
Rnd 13: [2sc into next st, 1sc into each of next 11 sts and change to yarn B, 2sc into next st, 1sc into each of next 11 sts and change to yarn A] 3 times, join, ch 1 (78).
Rnd 14: [2sc into next st, 1sc into each of next 12 sts and change to yarn B, 2sc into next st, 1sc into each of next 12 sts and change to yarn A] 3 times, join, ch 1 (84).
Rnd 15: [2sc into next st, 1sc into each of next 13 sts and change to yarn B, 2sc into next st, 1sc into each of next 13 sts and change to yarn A] 3 times, join, ch 1 (90).
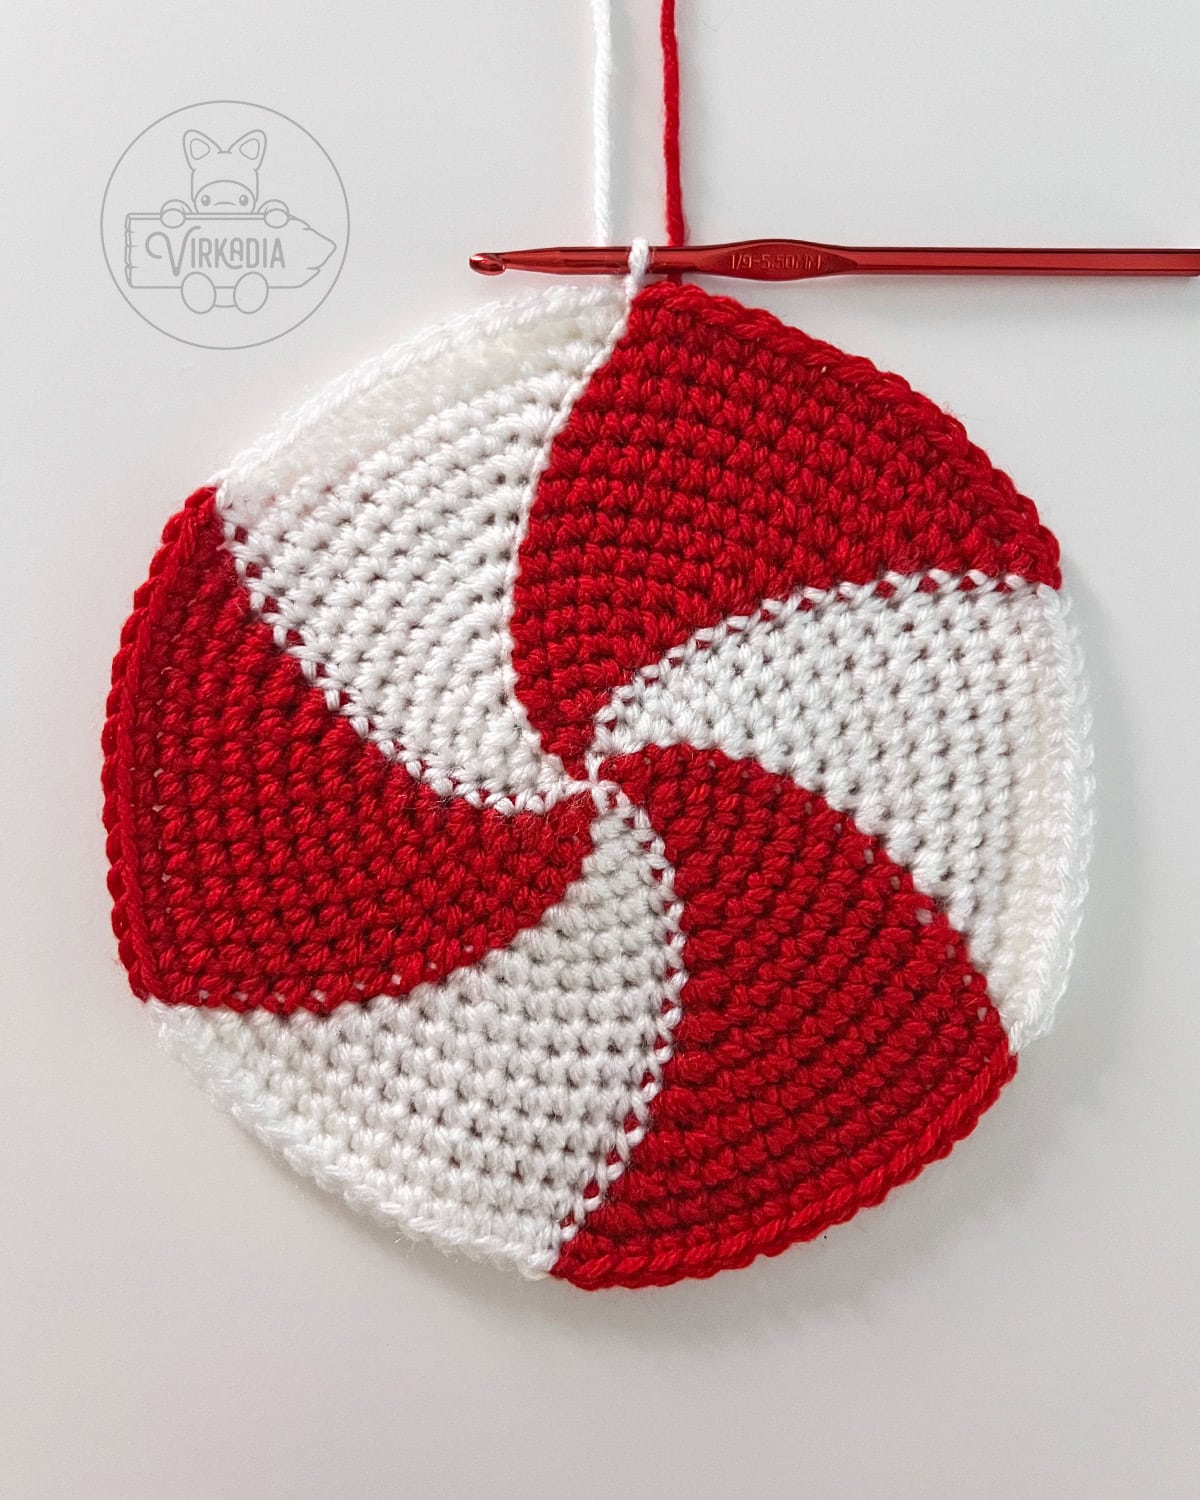
When working with the recommended gauge for this pattern (14 sc x 17 rows = 4 in), rounds 1 to 15 will create a hat with a circumference of 23.5 inches and will fit most adults.
If you need to customize the circumference of your hat to something smaller, you may undo one or more rounds before continuing.
Likewise, if you need to make your hat larger, you may continue to work outwards by increasing by one stitch at the beginning of each color change until you reach your desired diameter across.
However, please note that each round that you add or subtract before continuing to round 16 will respectively add or subtract 6 stitches to your total stitch count for all subsequent rounds.
Crochet Peppermint Hat Sides - Rounds 16 to 31:
If you have customized your hat to be a different size than the instructions above, be sure to adjust the following rounds accordingly by adding or subtracting your “1sc” counts below.
In other words, for the unaltered pattern below, each differently colored section in the next round has a section of “1sc into each of next 12 sts,” after an increase and before a decrease.
To adjust your pattern, simply add or subtract one “1sc” per each round that you’ve added or subtracted to the top, respectively.
For example, if you have added an extra round to the top, you would likewise add an extra stitch to this section and it would now be “1sc into each of next 13 sts.”
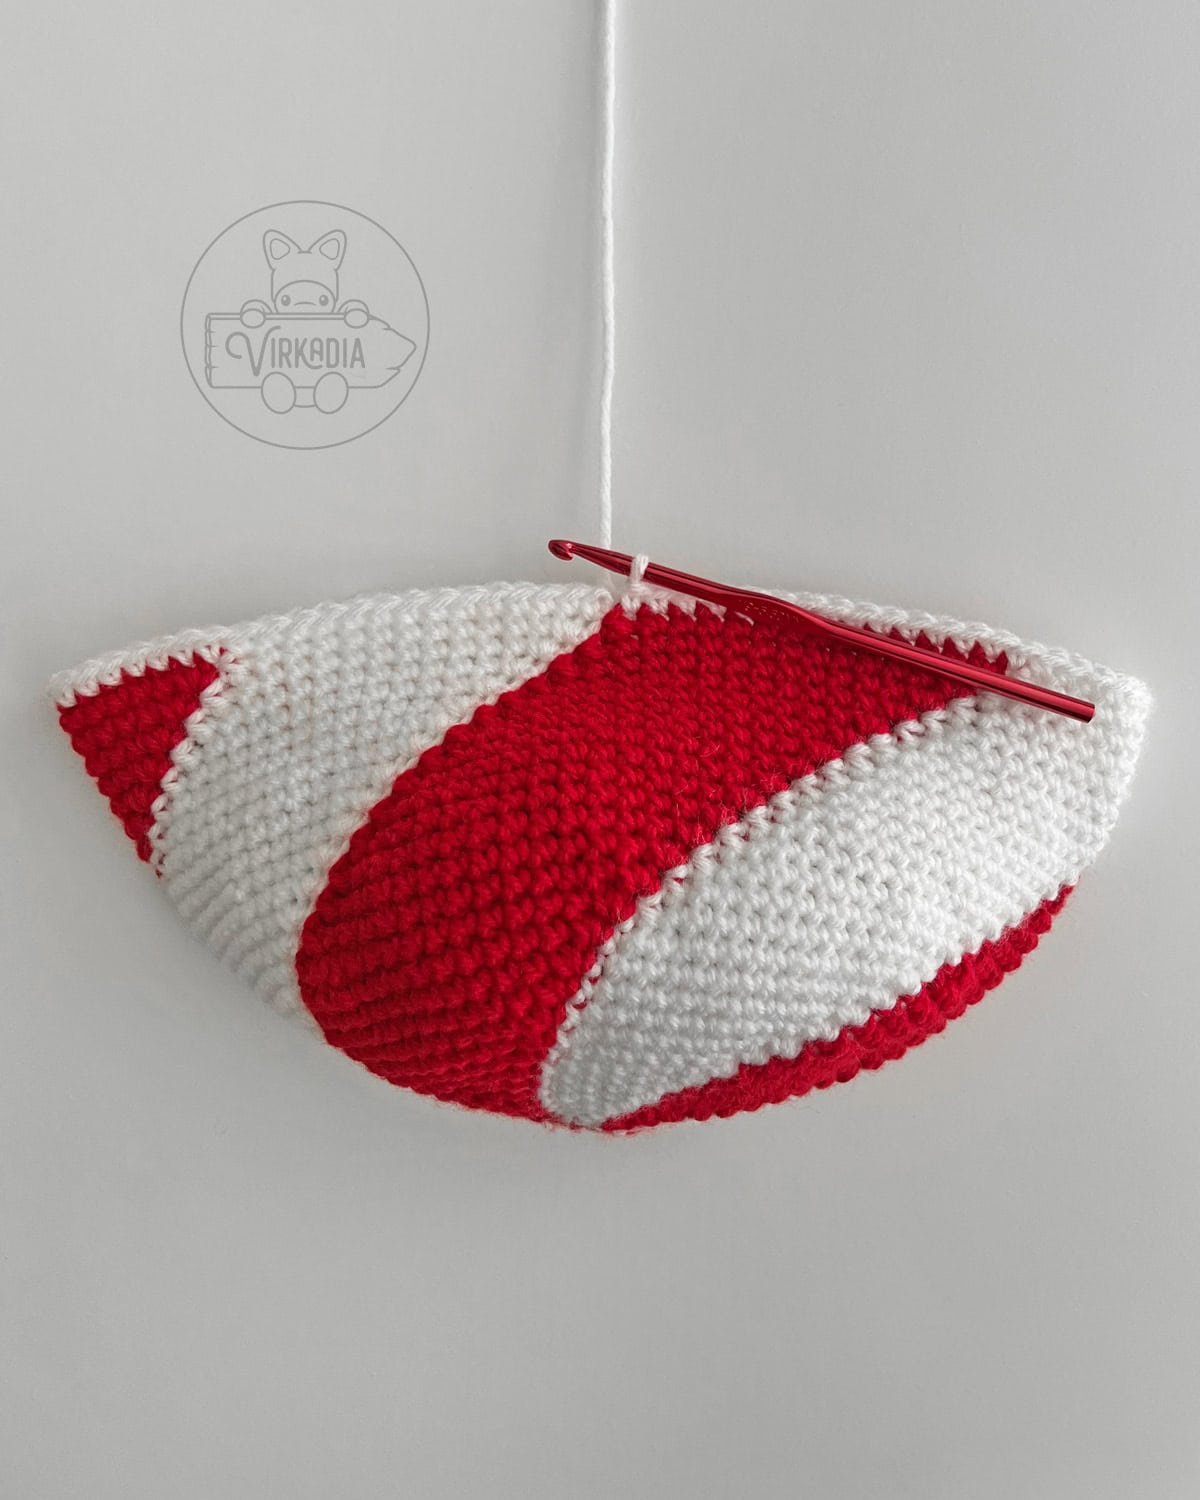
Rnd 16: [2sc into next st, 1sc into each of next 12 sts, sc2tog over next 2 sts and change to yarn B, 2sc into next st, 1sc into each of next 12 sts, sc2tog over next 2 sts and change to yarn A] 3 times, join, ch 1 (90).
Rnds 17 to 30 (14 rnds): rep rnd 16 (90).
Just as with the width of your crown, the sides of your hat can be customized to be longer or shorter by adding or subtracting rounds, respectively.
Once your hat reaches your desired length, fasten off yarn B (red) and weave in your end tail. The rest of your peppermint hat will be finished with yarn A (white) only.
Rnd 31: 1sc into each st around, do not join (90).
Crochet Peppermint Hat Brim - Rounds 32 to 40:
When working your slip stitches during round 32, make sure not to work too tightly!
If you find that your slip stitches are cinching your hat, try working more loosely or sizing up your hook for that round only.
Rnd 32: sl st into each st around, join, ch 1 (90).
Take care when completing round 33 to work into your previous round of slip stitches only, not the top loops of the single crochets behind them!
If you altered your hat to a different size, add or subtract one extra bracketed repetition in the rounds below per each added or subtracted round, respectively.
Rnd 33: [1sc into next st, 2sc into next st] 45 times, join, ch 1 (135).
Rnd 34: [2sc into next st, 1sc into each of next 2 sts] 45 times, join, ch 1 (180).
Rnd 35: [1sc into each of next 3 sts, 2sc into next st] 45 times, join, ch 1 (225).
Rnd 36: [2sc into next st, 1sc into each of next 4 sts] 45 times, join, ch 1 (270).
Rnd 37: [1sc into each of next 5 sts, 2sc into next st] 45 times, join, ch 1 (315).
Rnd 38: [2sc into next st, 1sc into each of next 6 sts] 45 times, join, ch 1 (360).
Rnd 39: 1sc into each st around, do not join (360).
To finish off our hat, we will be adding a last round of slip stitches to give our brim’s edge a little extra rigidity.
When working your slip stitches during round 40, make sure not to work too tightly!
If you find that your slip stitches are cinching your edge, try working more loosely or sizing up your hook for the last round.
Rnd 40: sl st into each st around (360).
Fasten off yarn A and weave in your end tail.
Conclusion | Free Crochet Peppermint Hat
And with that, you’re done the free crochet Peppermint Hat pattern! If you enjoyed this pattern, be sure to check out its companion pattern: the Peppermint Scarf!
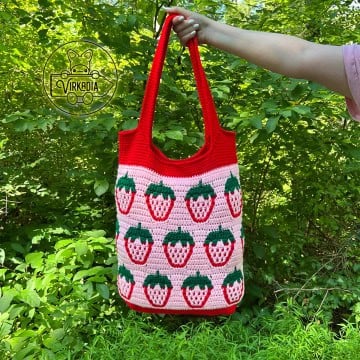
You can also explore the Cutie Collections and the Pocket Pets archives for our original and free amigurumi patterns, or our Home Decor Patterns for other homemade household goodies!
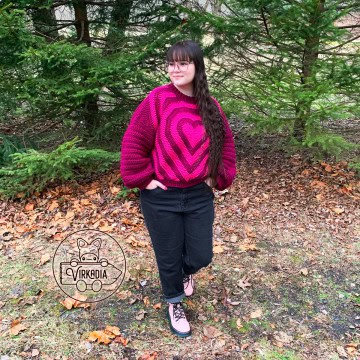
If you’re looking to cozy up with a longer project, check out our Clothing Patterns, or assemble your own designs from one of our Granny Square Patterns!
And don’t forget to browse our downloadable, ad-free patterns in our Etsy store!
Follow Virkadia on Instagram to stay updated on all new and upcoming patterns, crochet content, and amigurumi adventures! Thank you for all of your support!


Hey hey, I'm Joey Diehl!
I am the fiber artist behind Virkadia! I have a BFA in Fibers & Material Studies and have been crocheting for over 20 years. I have designed, photographed, and written dozens of original crochet patterns that I am honored to have been shared to hundreds of thousands of readers.

Leave a Reply