Sautéed into this free mini crochet mushroom bookmark and garland set are all the woodsy wonders of autumn evenings—the earthy scent of decaying leaves and damp dirt beneath your feet, the distant calls of a migrating bird’s farewell, and the cool plush embrace of a sweater being welcomed back from the dark recesses of a closet.
While the hearty harvest soups simmer on the stove, how better to pass the time than with this free mini crochet mushroom pattern set—part 2 of 3 in the mix-and-match compatible Autumn Bookmark & Garland Sets!
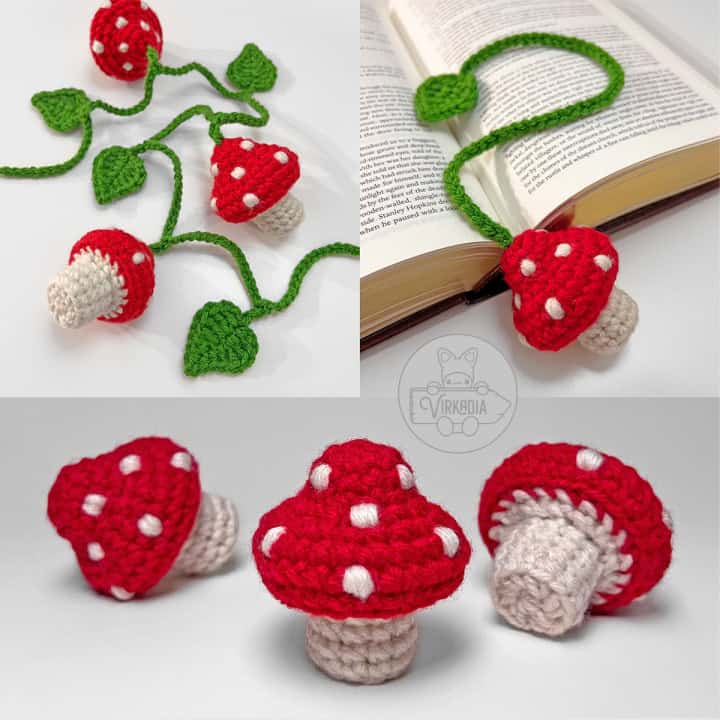
Pattern Information | Mini Crochet Mushroom Amigurumi
This free crochet mushroom bookmark and garland pattern set has a difficulty rating of intermediate.
The finished dimensions of each mushroom are 2.5 inches (height) by 2 inches (width) by 2 inches (depth), and each leaf motif is 1.5 inches (height) by 1.5 inches (width).*
The finished length of the example bookmark string is 12 inches, and the length of the example garland is 32 inches, but this pattern includes instructions for customizing both to any length that you desire!
*Finished dimensions are calculated from a model using medium weight yarn, a size H-8 (5 mm) crochet hook, the YU/YO method and the following gauge: 18 sc x 21 rows = 4 inches.
And don’t forget to add your project on Ravelry!
Supplies:
- Size H-8 (5 mm) crochet hook
- Medium (4) weight yarn in 2+ colors:
- Yarn A – red (example uses Red Heart Super Saver: Cherry Red)
- Yarn B – white (example uses Red Heart Super Saver: Aran)
- Yarn C (for garland and bookmark only) – green (example uses Big Twist Value: Forest Green)
- Polyester fiberfill
- Yarn needle
- Scissors
- Stitch markers (optional)
Terminology:
This free mini crochet mushroom amigurumi pattern uses English (US) terminology:
- st (sts) = stitch (stitches)
- ch = chain stitch
- sl st = slip stitch
- sc = single crochet
- sc2tog = single crochet 2 together (over the span of 2 stitches), also known as a decrease
- tr = treble crochet
- FLO = front loop only
- BLO = back loop only
Please note that this pattern is written so that each crochet stitch abbreviation is attached to a number, such as 1sc, 2sc, etc. This number denotes how many of that stitch is to be worked into the same stitch.
In other words, 1sc = one single crochet, whereas 2sc = two single crochet worked into one stitch, also known as an increase.
You can learn more about how to read Virkadia patterns on our Pattern Help FAQ page!
Special Stitch Instructions:
Please review our special stitch instructions on our Stitch Tutorials FAQ page before beginning, as some techniques may be unique to this pattern.
You can also watch our amigurumi techniques video tutorial for all of our tips and tricks for improving your project!
This free mini crochet mushroom amigurumi pattern uses the following special stitch tutorials:
- Single Crochet (YU/YO Method)
- Invisible Decrease
- Joining Rounds
Most of this pattern is worked in the round, with each round joined at the end with a slip stitch. Unless otherwise instructed, the first stitch of your next round will always be worked into the same stitch as your joining slip stitch has been worked into.
Be sure to always keep the ‘right side’ of your stitches facing outwards as you work. The right side is the front side of the stitch that is facing you as you are completing each stitch.
Pattern Instructions | Mini Crochet Mushroom Amigurumi
Mini Crochet Mushroom – Rounds 1 to 9:
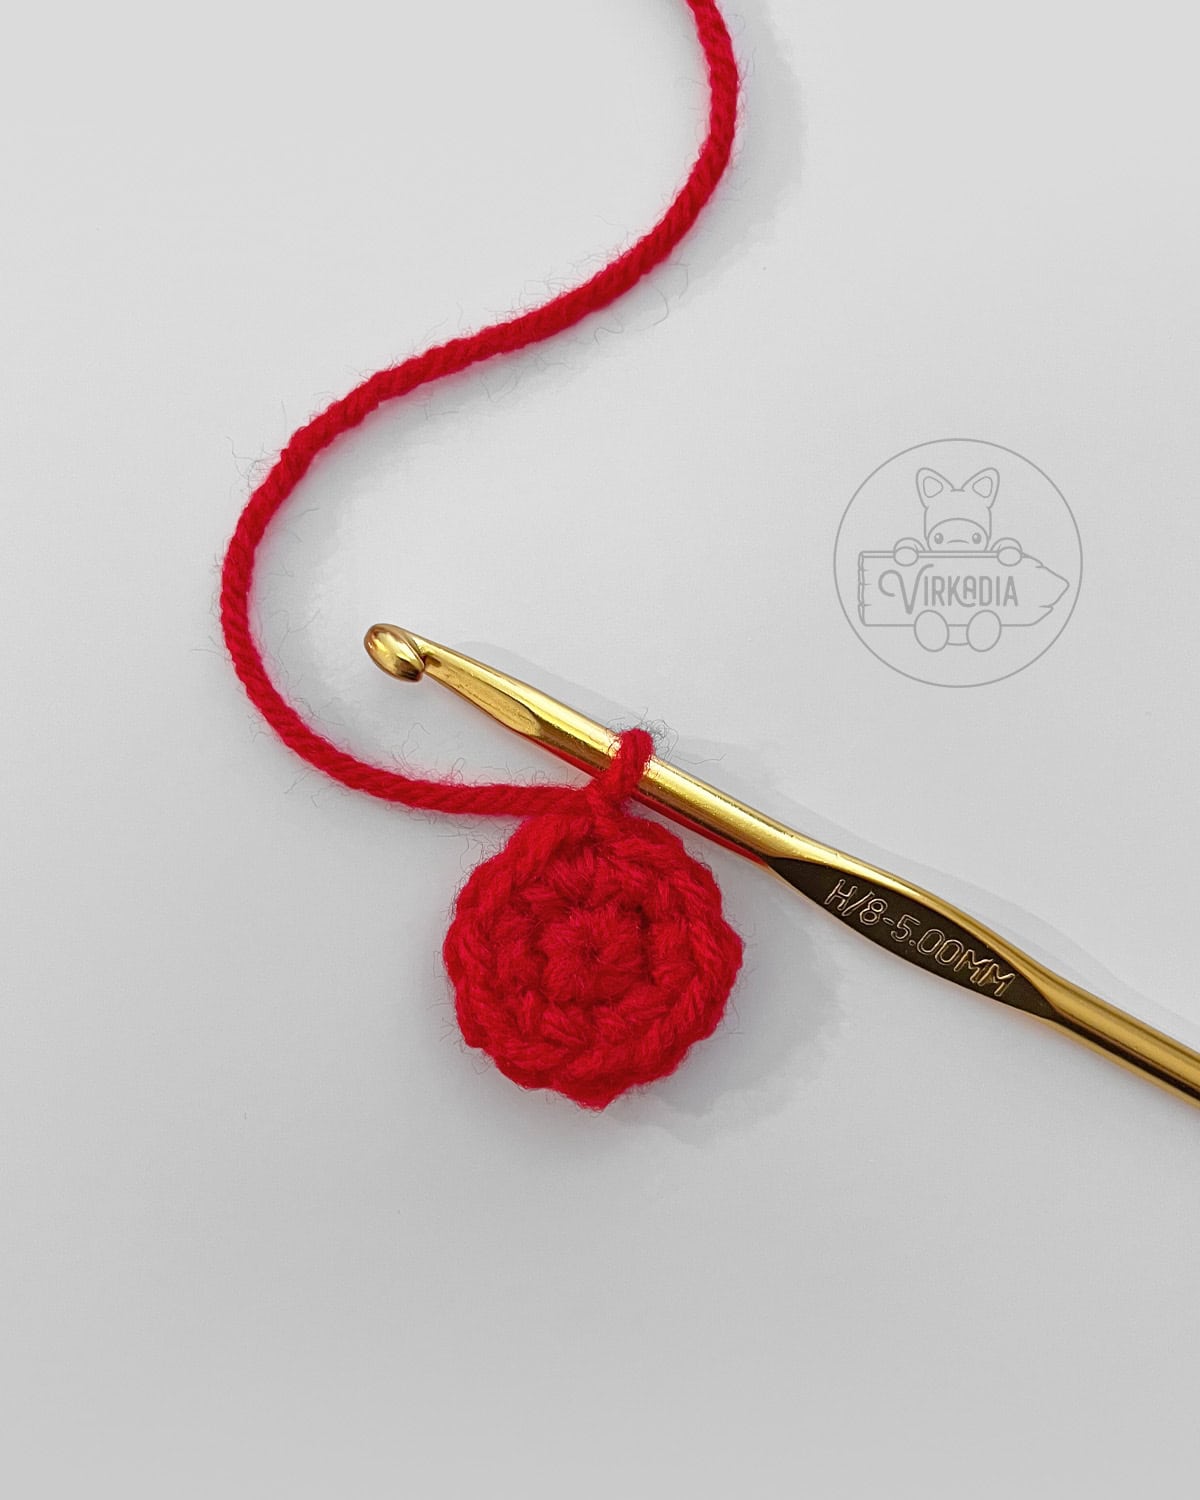
With yarn A (red), chain 2.
Rnd 1: 6sc into 2nd ch from hook, sl st into 1st st to join, ch 1 (6).
Rnd 2: 2sc into each st around, join, ch 1 (12).
Rnd 3: 1sc into each st around, join, ch 1 (12).
Rnd 4: 1sc into each st around, join, ch 1 (12).
Rnd 5: [1sc into next st, 2sc into next st] 6 times, join, ch 1 (18).
Rnd 6: [2sc into next st, 1sc into each of next 2 sts] 6 times, join, ch 1 (24).
Rnd 7: [1sc into each of next 3 sts, 2sc into next st] 6 times, join, ch 1 (30).
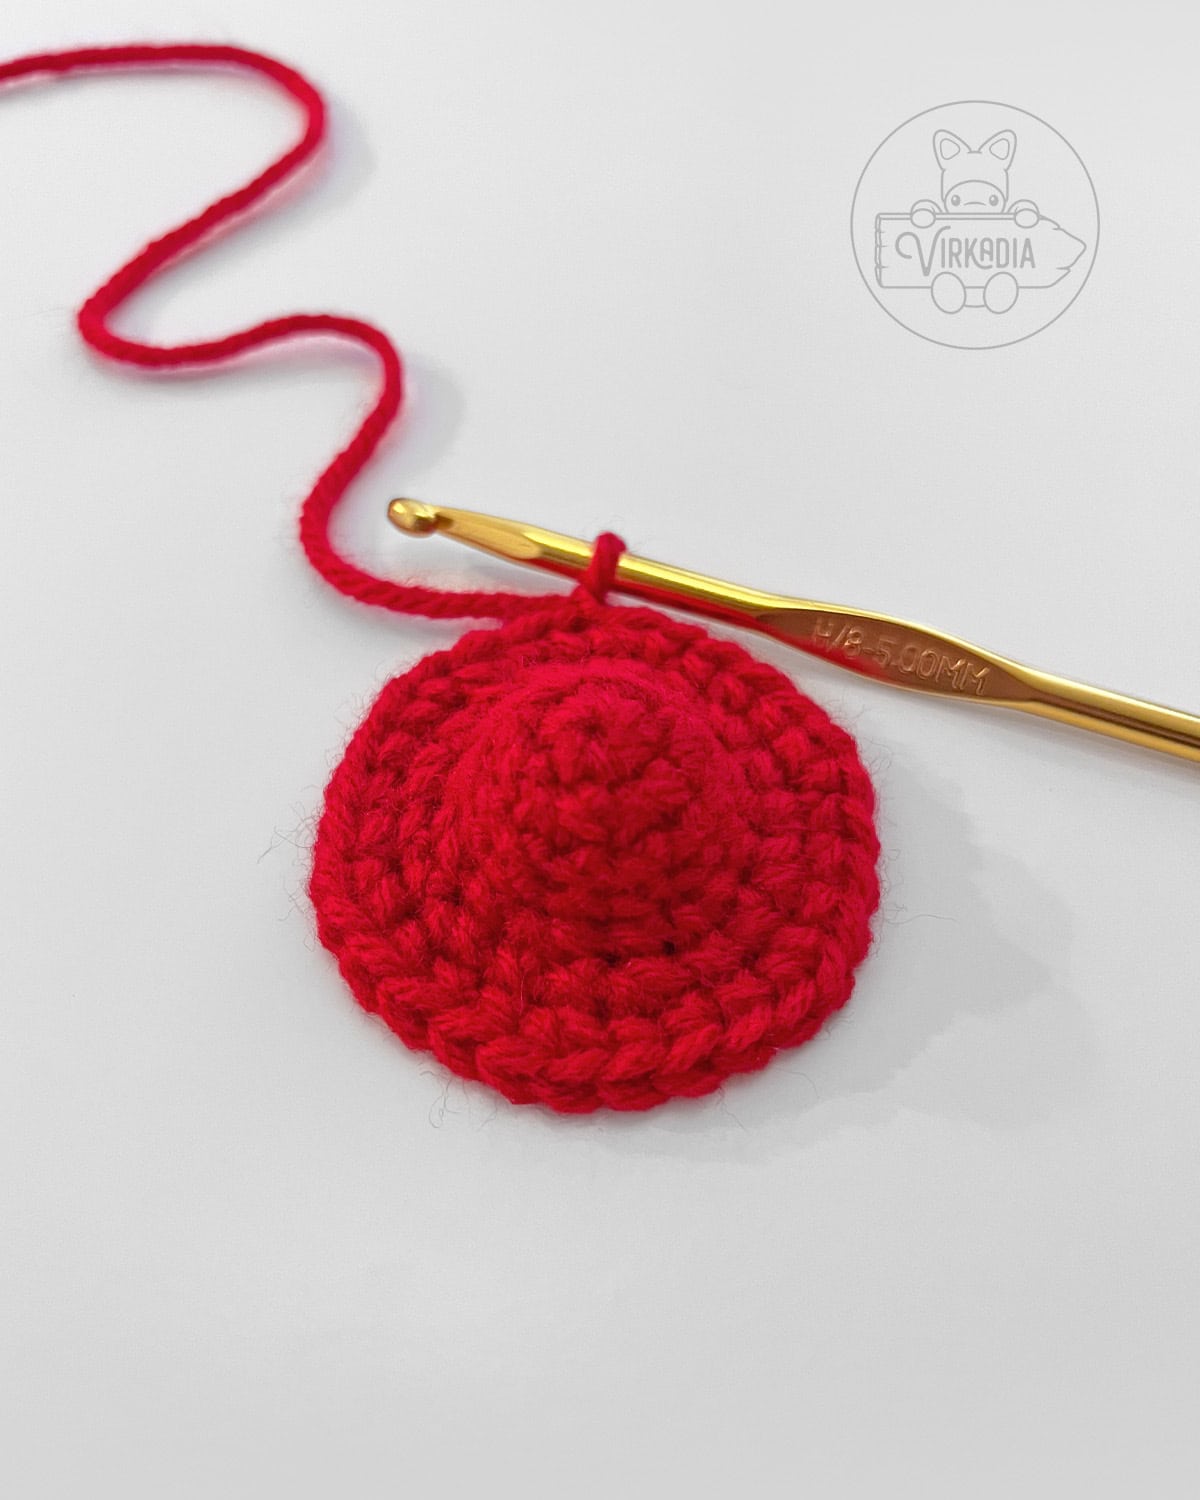
Rnd 8: 1sc into each st around, join, ch 1 (30).
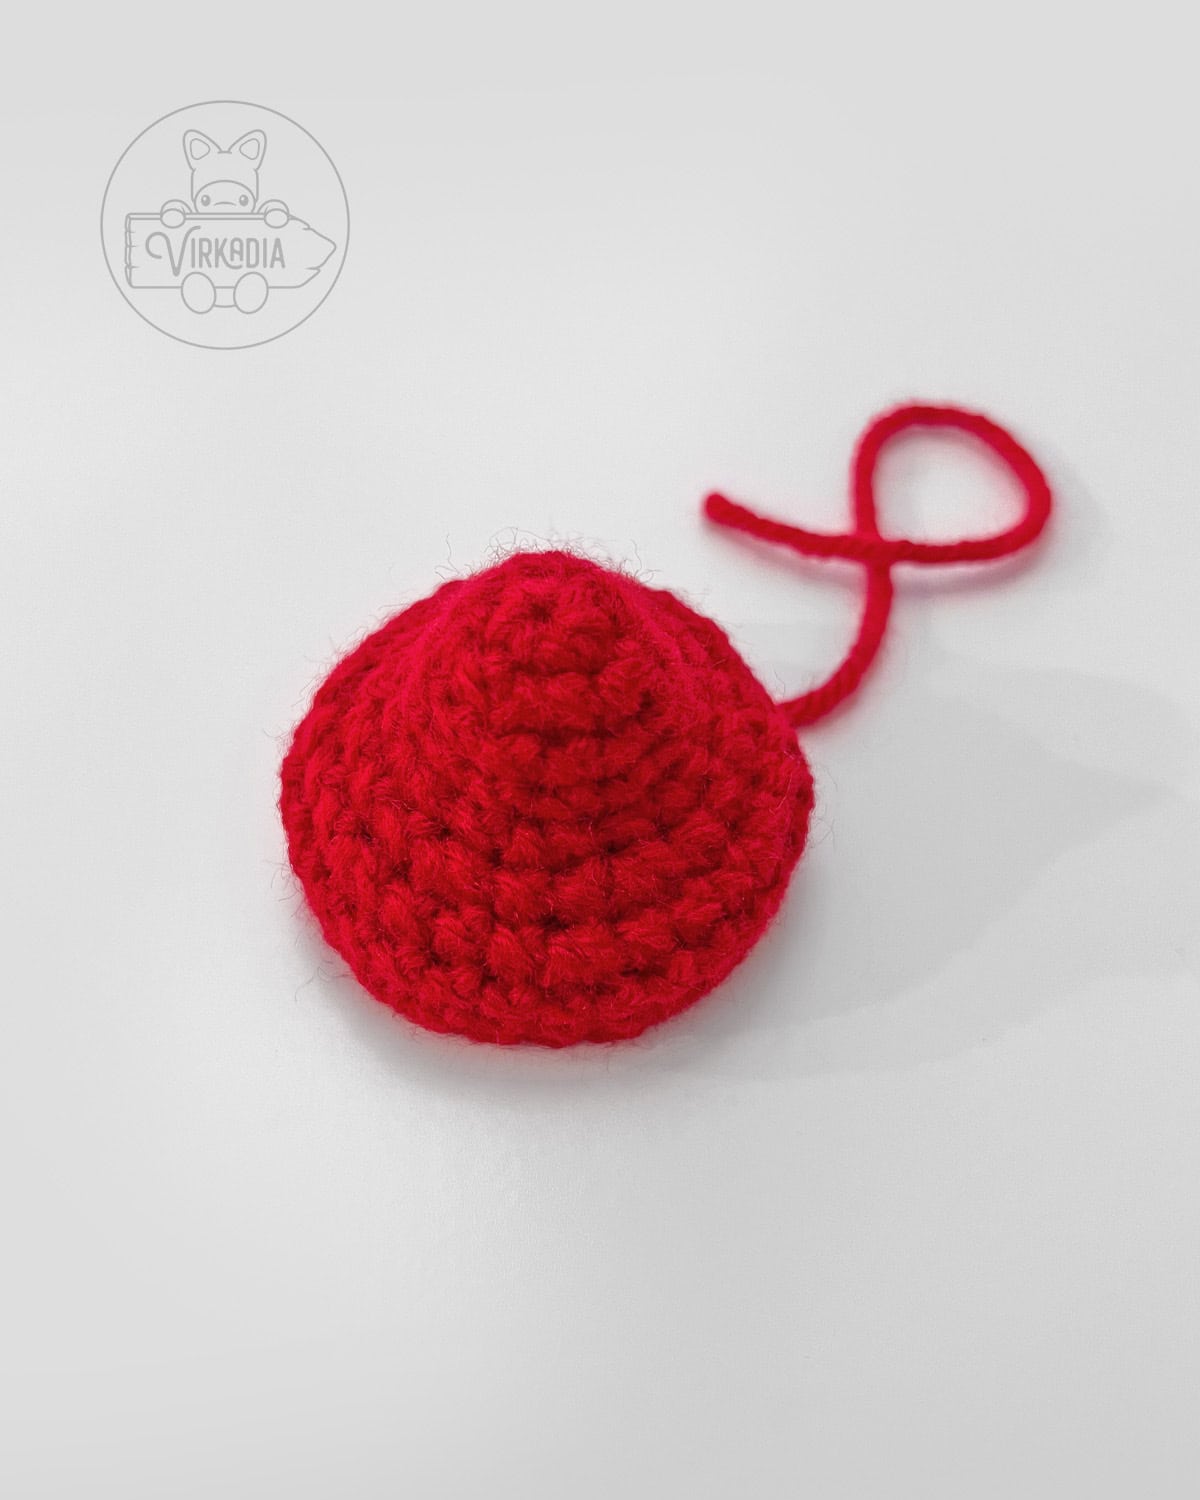
Rnd 9: [sc2tog over next 2 sts, 1sc into each of next 3 sts] 6 times, join, ch 1 (24).
Fasten off yarn A and leave a short tail for tying.
Then, follow the directions below for adding spots onto your mini crochet mushroom cap before continuing to round 10.
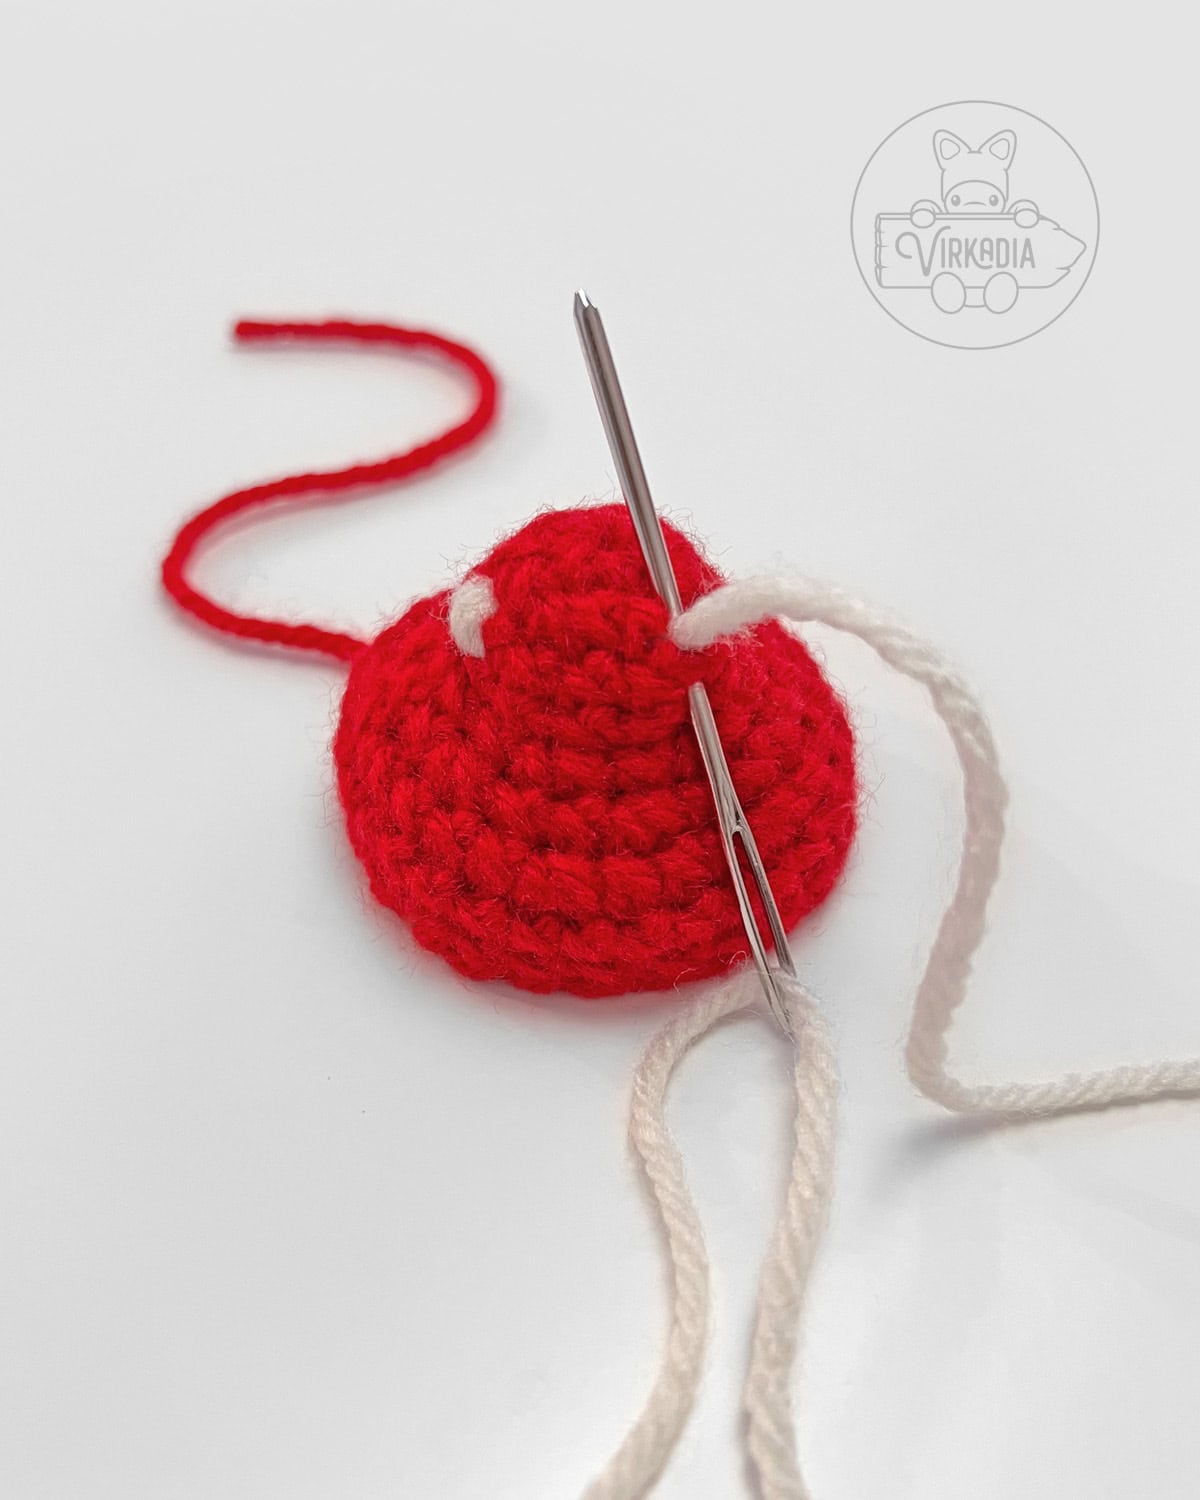
Adding Spots:
With a long length of yarn B (white), embroider as many or as few spots around the circumference of your mini crochet mushroom cap as desired.
To create a spot, begin by inserting your needle, from inside to outside, between any 2 stitches of your mushroom cap.
Pull through, leaving a short tail on the inside for tying.
Next, insert your needle back into your cap 1 round down, then out again through the same space as you’ve last exited from.
Repeat this last step 4 more times, or until you are satisfied with the bulk of your mushroom spot.
To finish your embroidered spot, insert your needle into your cap 1 round down, once more, without exiting.
You may either finish your embroidery now by tying both ends together on the inside of your piece, or continue to your next spot using the same length of yarn.
If you choose to continue with the same strand, just take extra care to avoid pulling the yarn too tight across the inside of your mushroom as you travel to your next spot.
The cap of your mushroom should still be able to stretch slightly, as you will need space on the inside to accommodate your stuffing, later.
Repeat all steps around the entirety of your mini crochet mushroom cap until you are satisfied with the density of your embroidered spots.
When you are finished, tie your end tail to your beginning tail of the inside of your piece and cut any excess length.
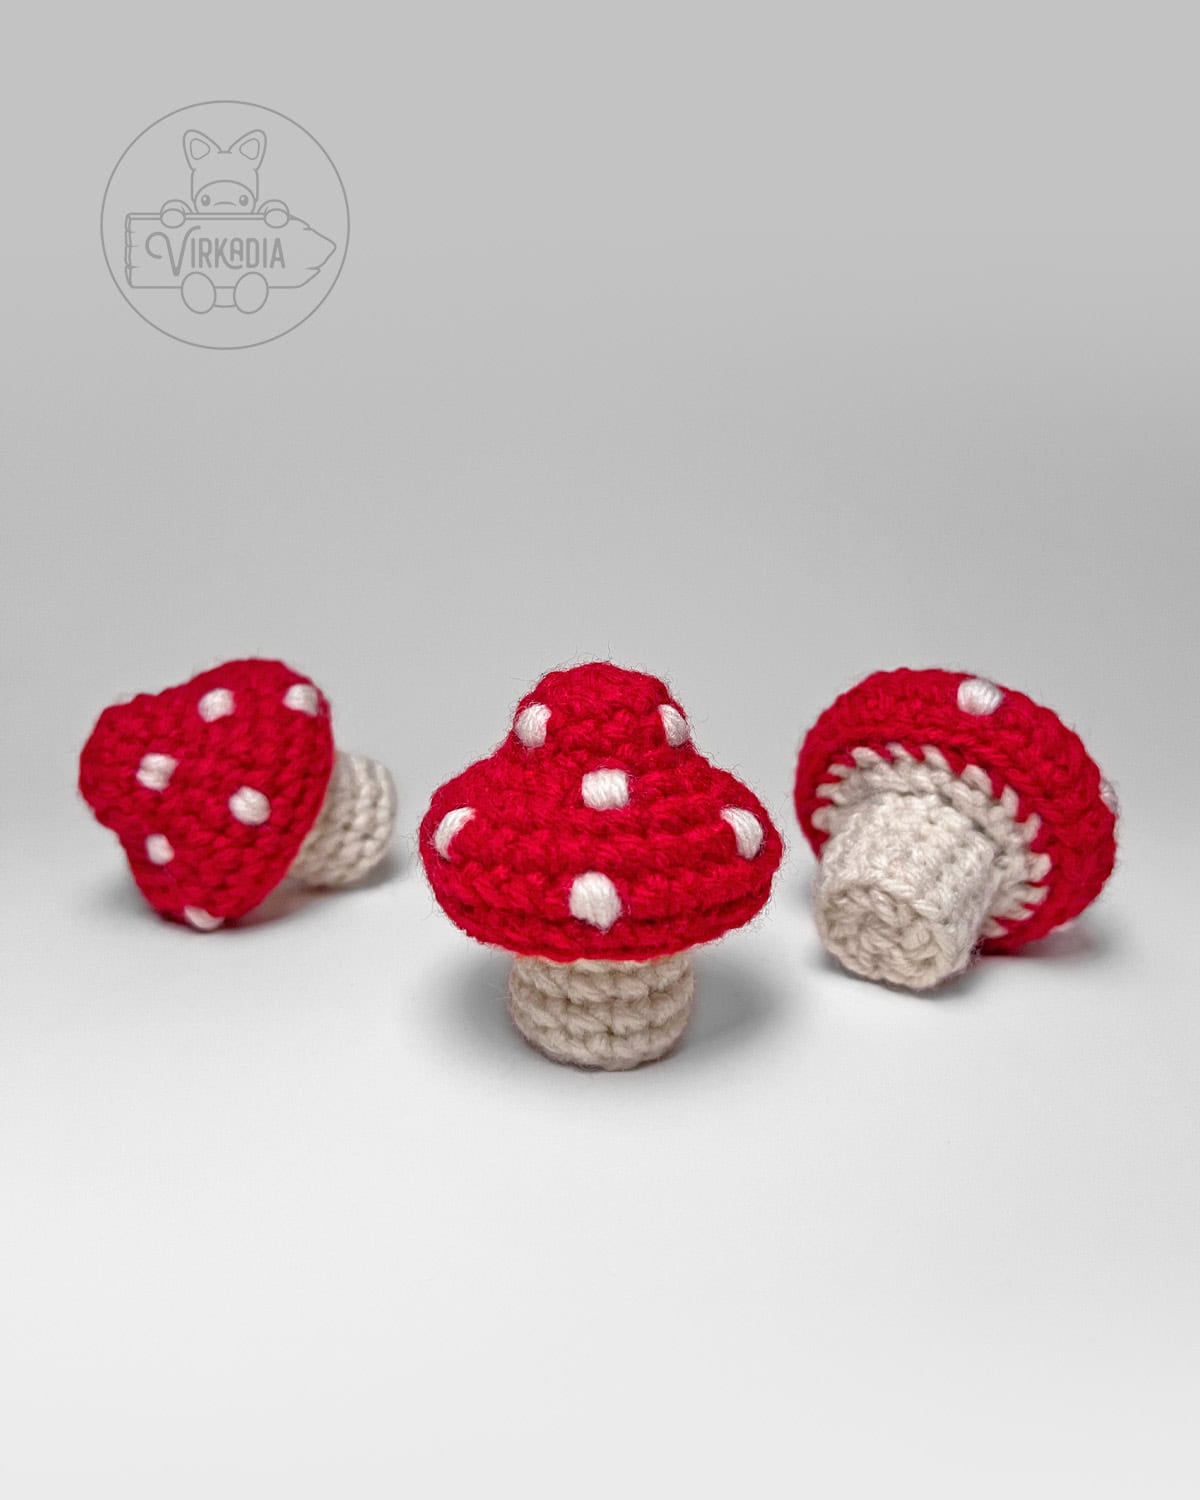
For an exact match to the example mini crochet mushroom, add 3 evenly-space spots over top of each of rounds 3, 5, 7, and 8. Each new round of spots should be staggered with the previous round.
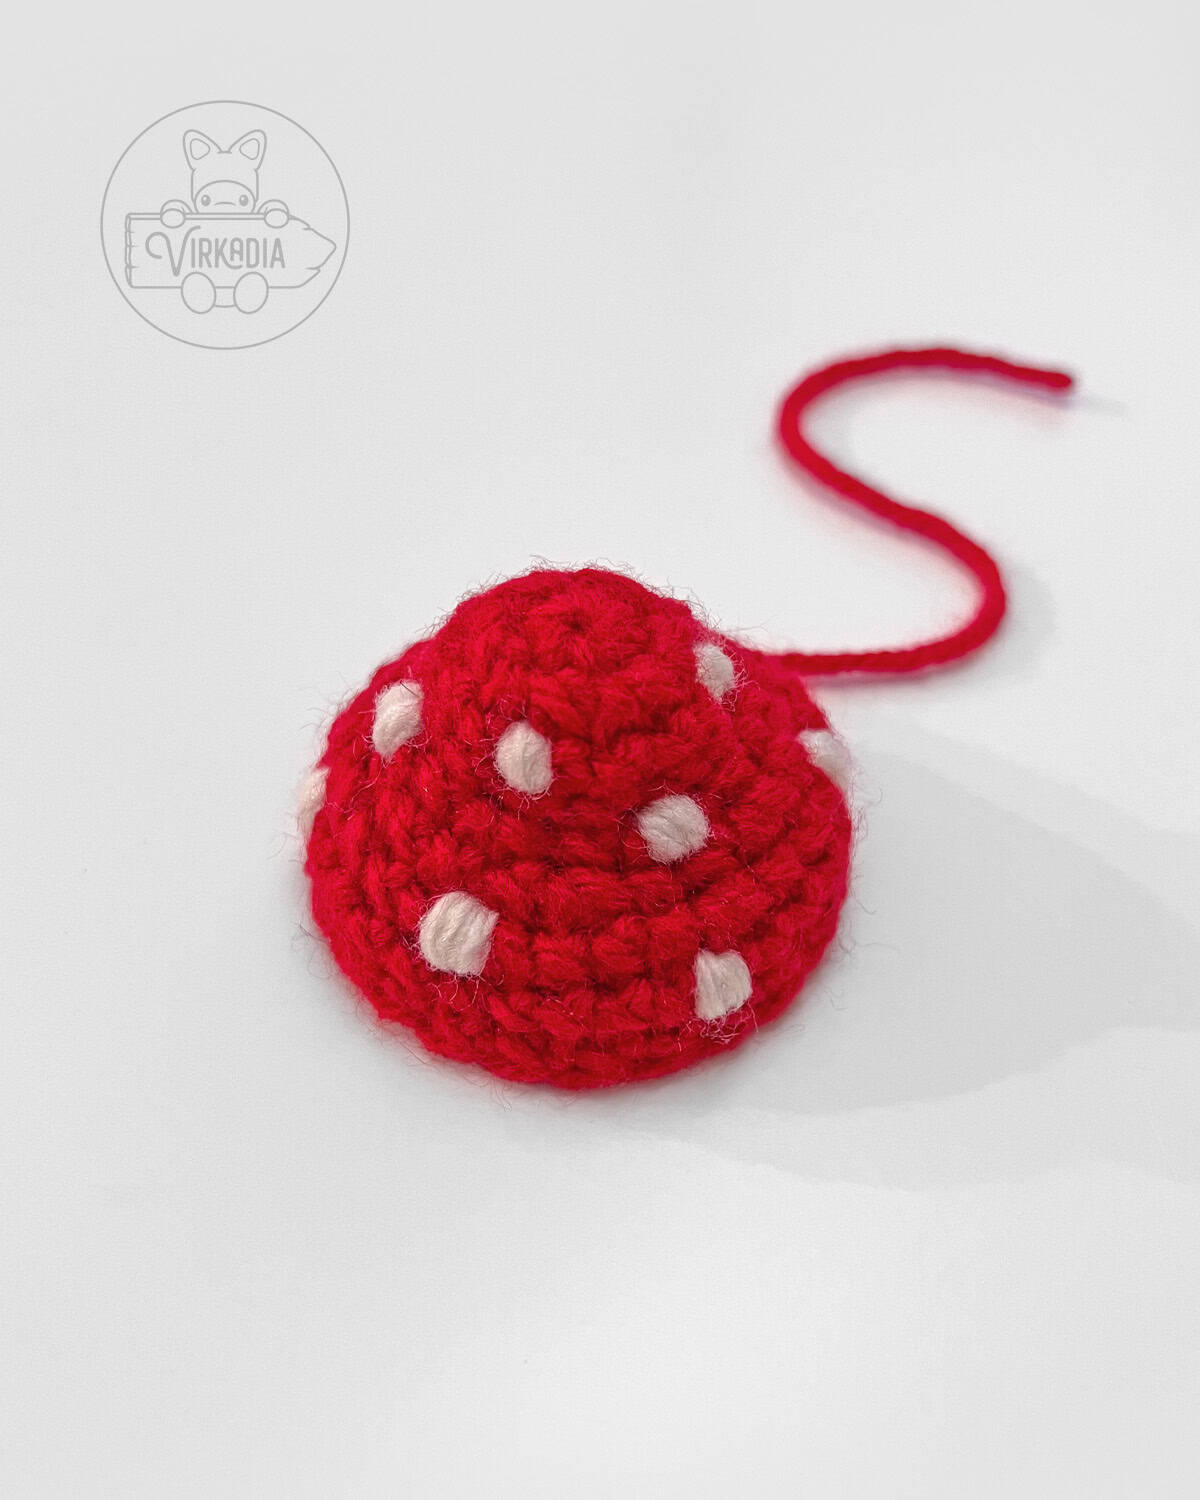
Once all of your spots are embroidered to your liking, you may continue to round 10 of your mini crochet mushroom.
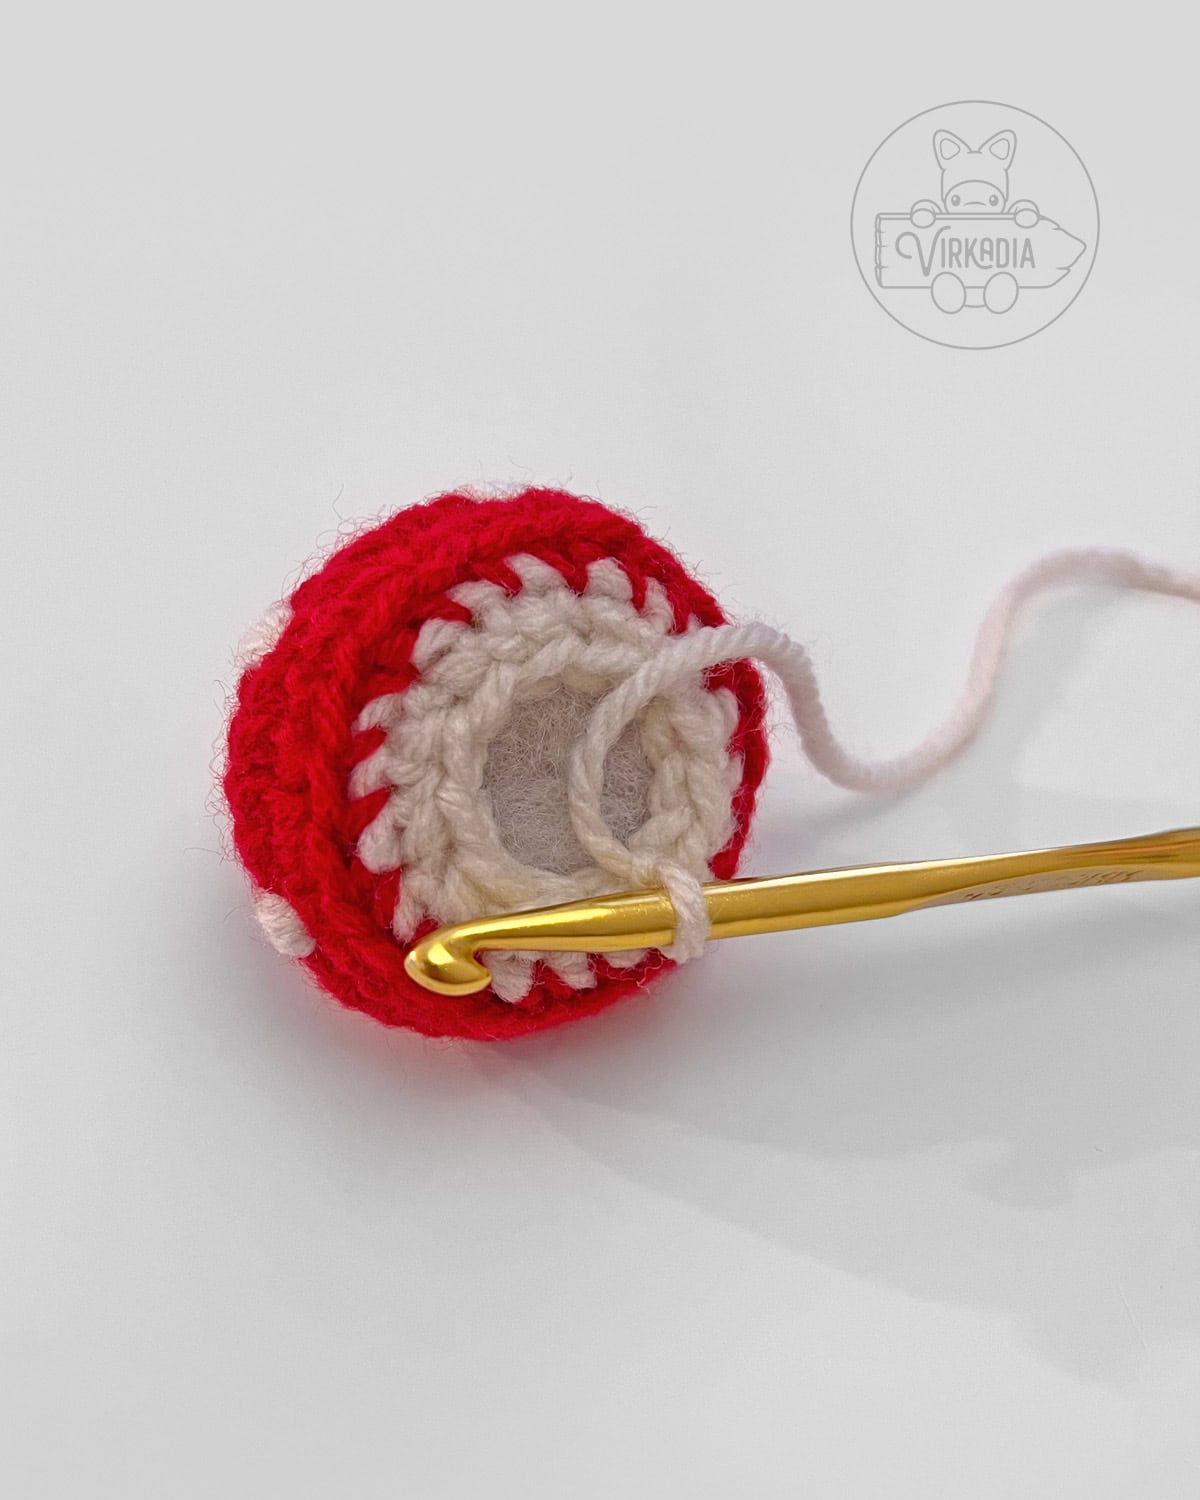
Mini Crochet Mushroom – Rounds 10 to 16:
Join yarn B (white) by inserting your hook into the back loop only of the first stitch of your next round. Pull up a loop of yarn B and chain 1.
Tie the tails of both yarn A and yarn B together on the interior of your piece to secure your ends.
Begin stuffing as you go. To help preserve the shape of the cap, however, take care not to overstuff your mini crochet mushroom!
Rnd 10: in BLO of each st around, [1sc into each of next 2 sts, sc2tog over next 2 sts] 6 times, join, ch 1 (18).
Rnd 11: [sc2tog over next 2 sts, 1sc into next st] 6 times, join, ch 1 (12).
Rnd 12: 1sc into FLO of each st around, join, ch 1 (12).
Rnd 13: 1sc into each st around, join, ch 1 (12).
Rnd 14: 1sc into each st around, join, ch 1 (12).
Rnd 15: 1sc into each st around, join, ch 1 (12).
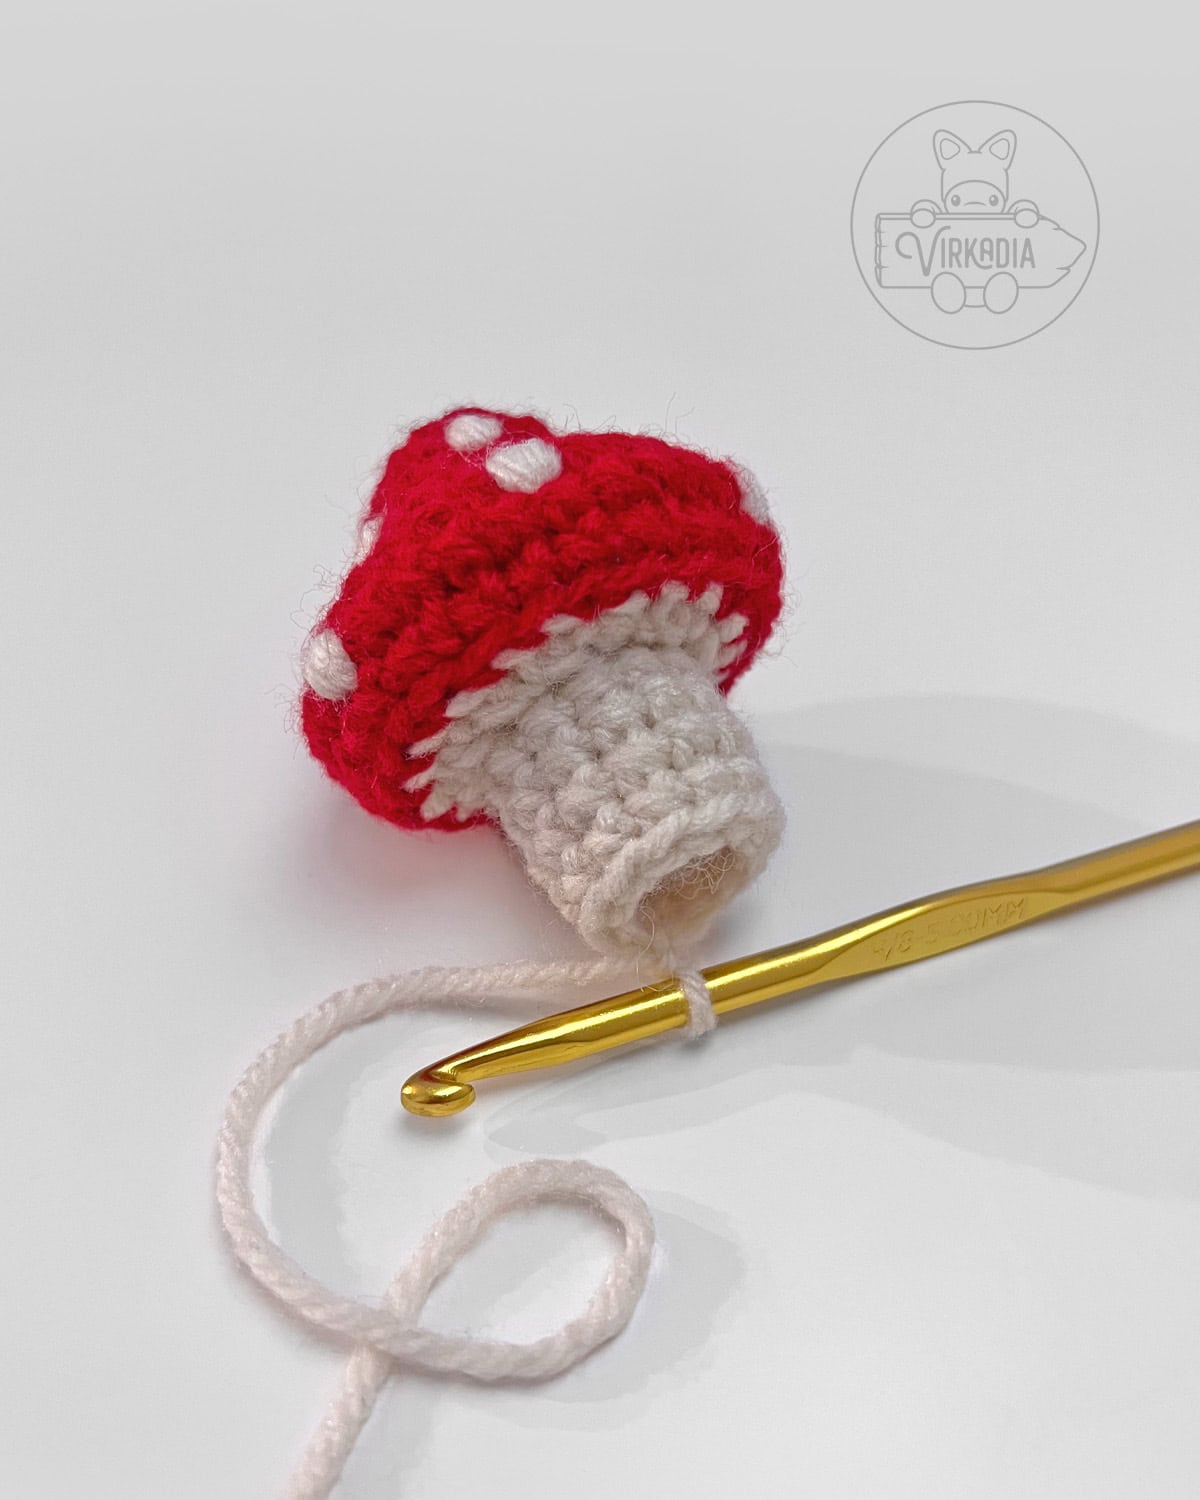
Rnd 16: in BLO of each st around, [sc2tog over next 2 sts] 6 times, join, ch 1 (6).
Fasten off yarn B and leave a tail for sewing closed.
Sewing Closed:
To sew the bottom hole closed, pass the needle, from front to back, through the front loop only of each stitch around and then pull tight.
Secure your sewing with a knot, trim the tail, and sew in any remaining length.
To create a mini crochet mushroom bookmark, continue to the instructions for Attaching Leaf below.
To make a garland, set aside for now and repeat all instructions for the mini crochet mushroom 2 more times, for a total of 3 mushrooms. Then skip ahead to the section for Attaching Garland.
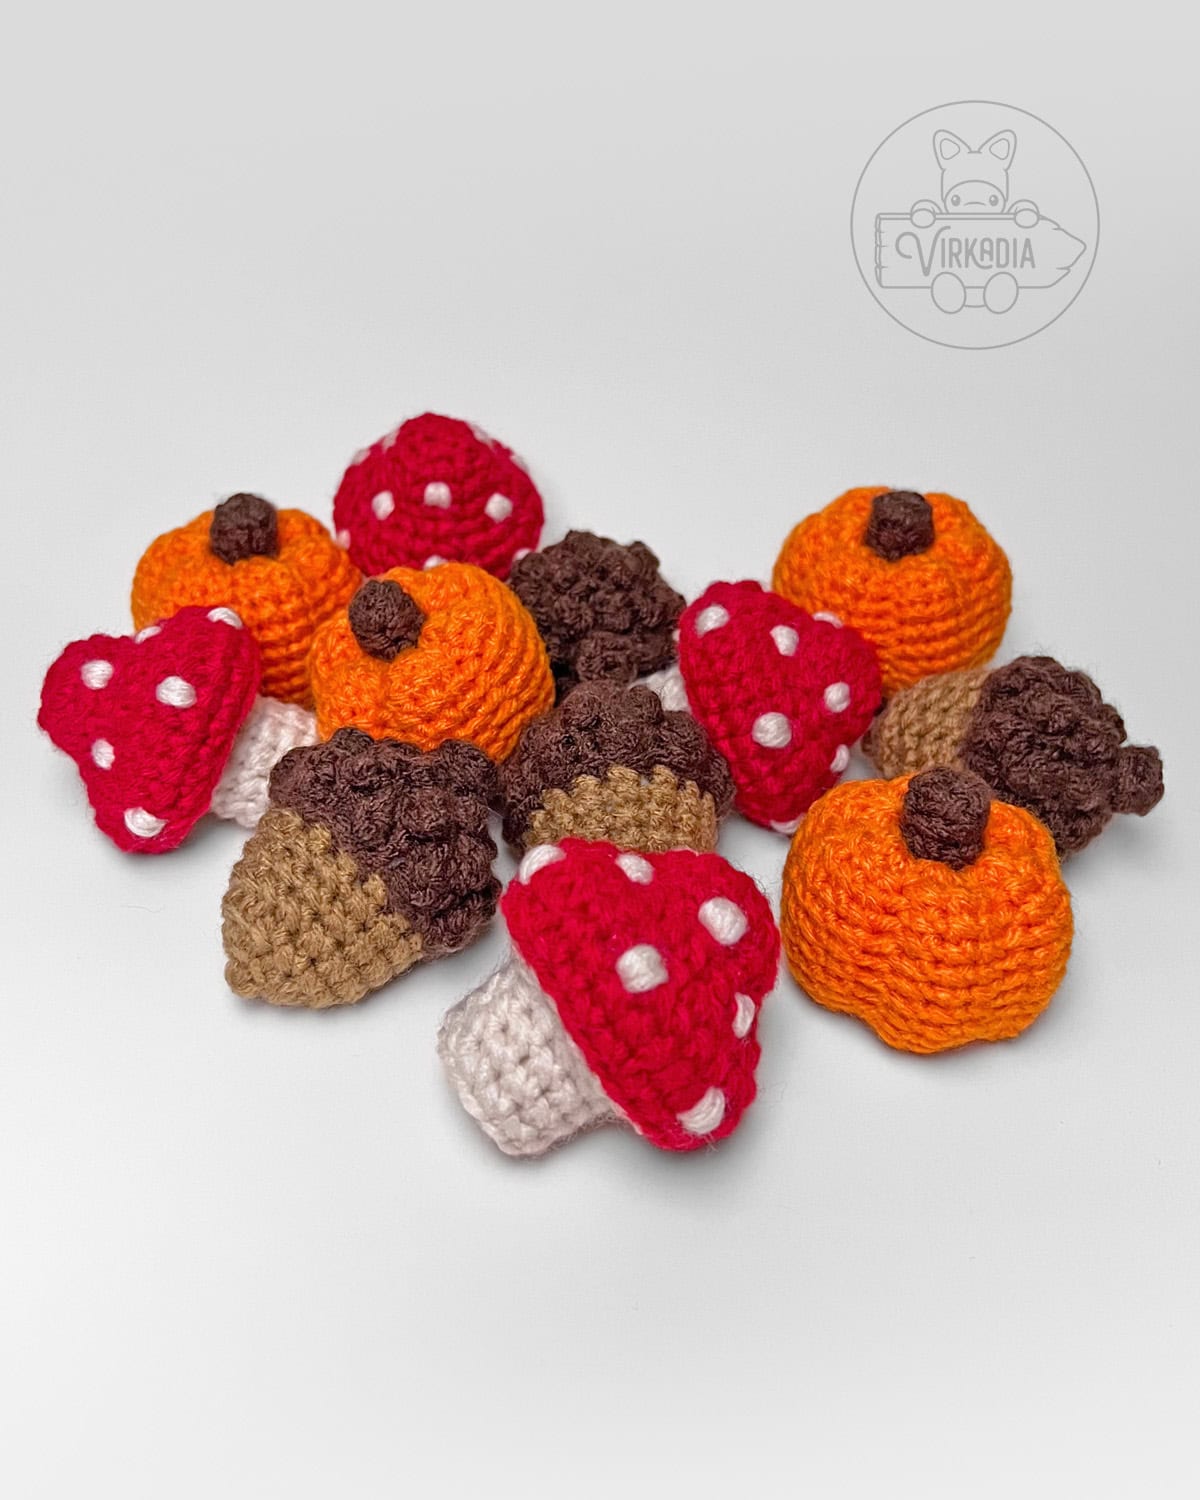
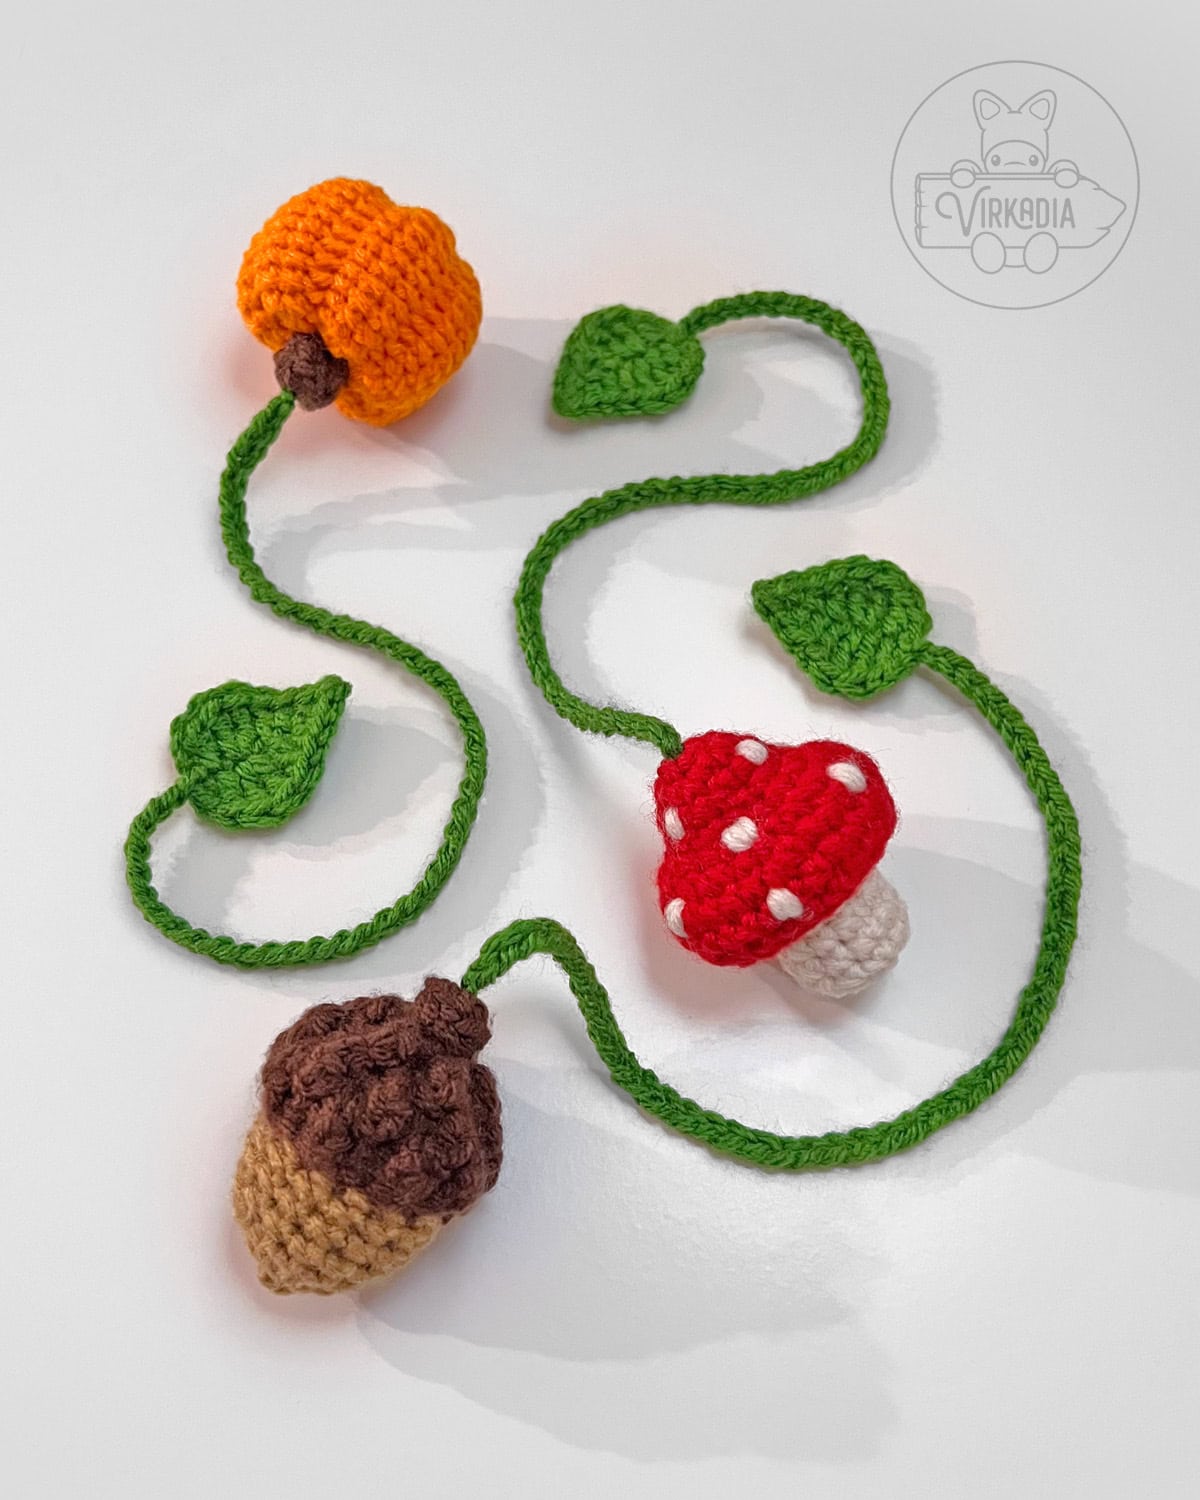
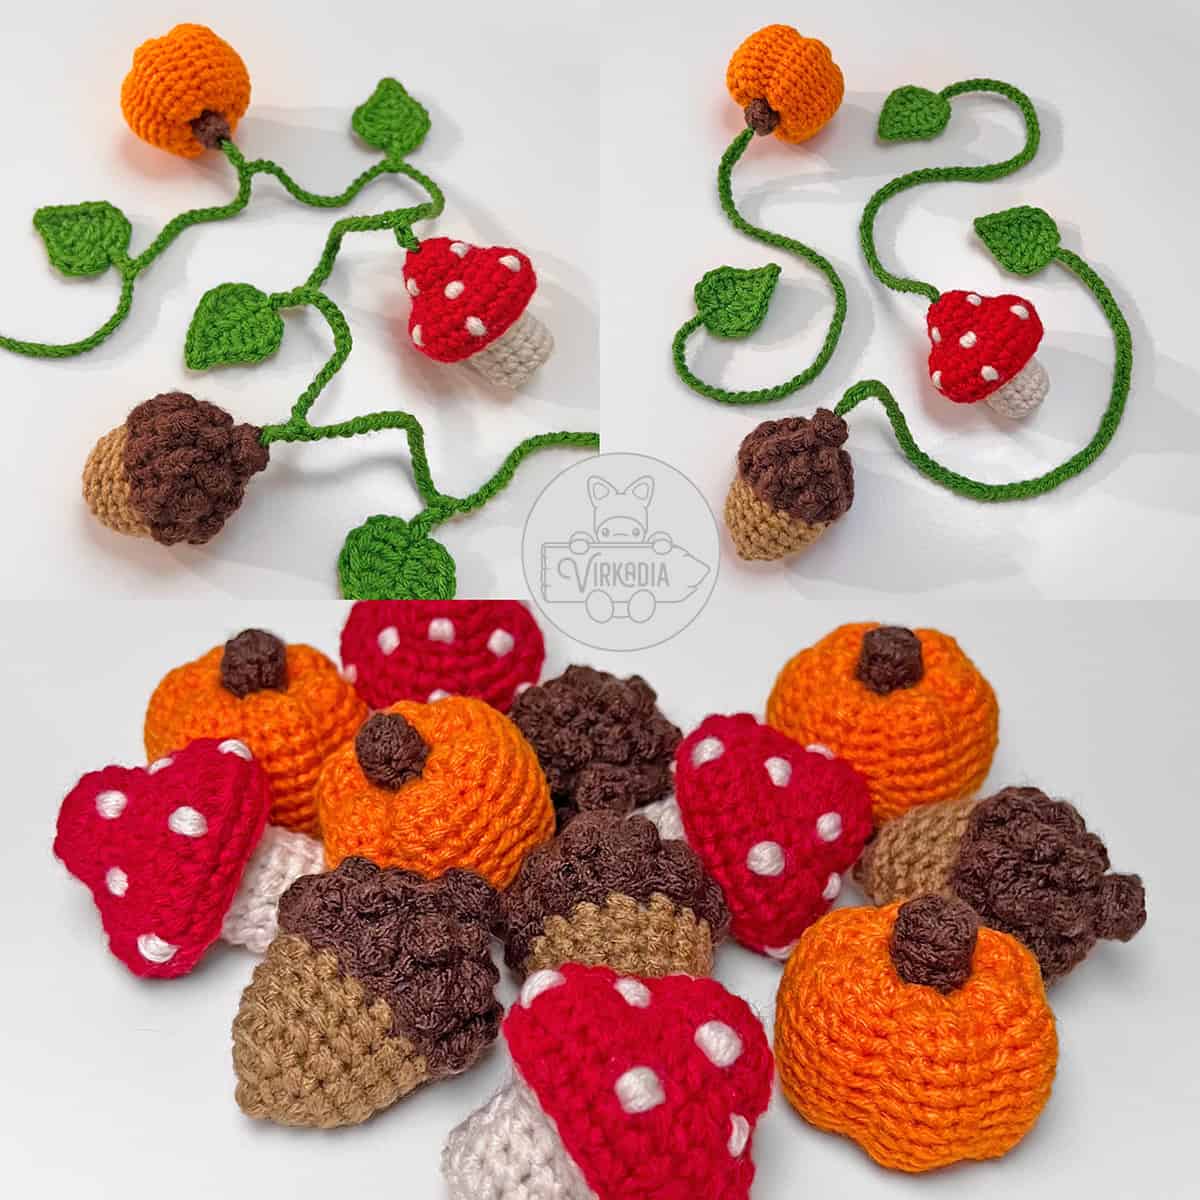
For standalone decorations, you can also create more mushrooms, or pair them with our Mini Crochet Pumpkin and Mini Crochet Acorn patterns for a full autumn decoration set!
Attaching Leaf (Mini Crochet Mushroom Bookmark Only):
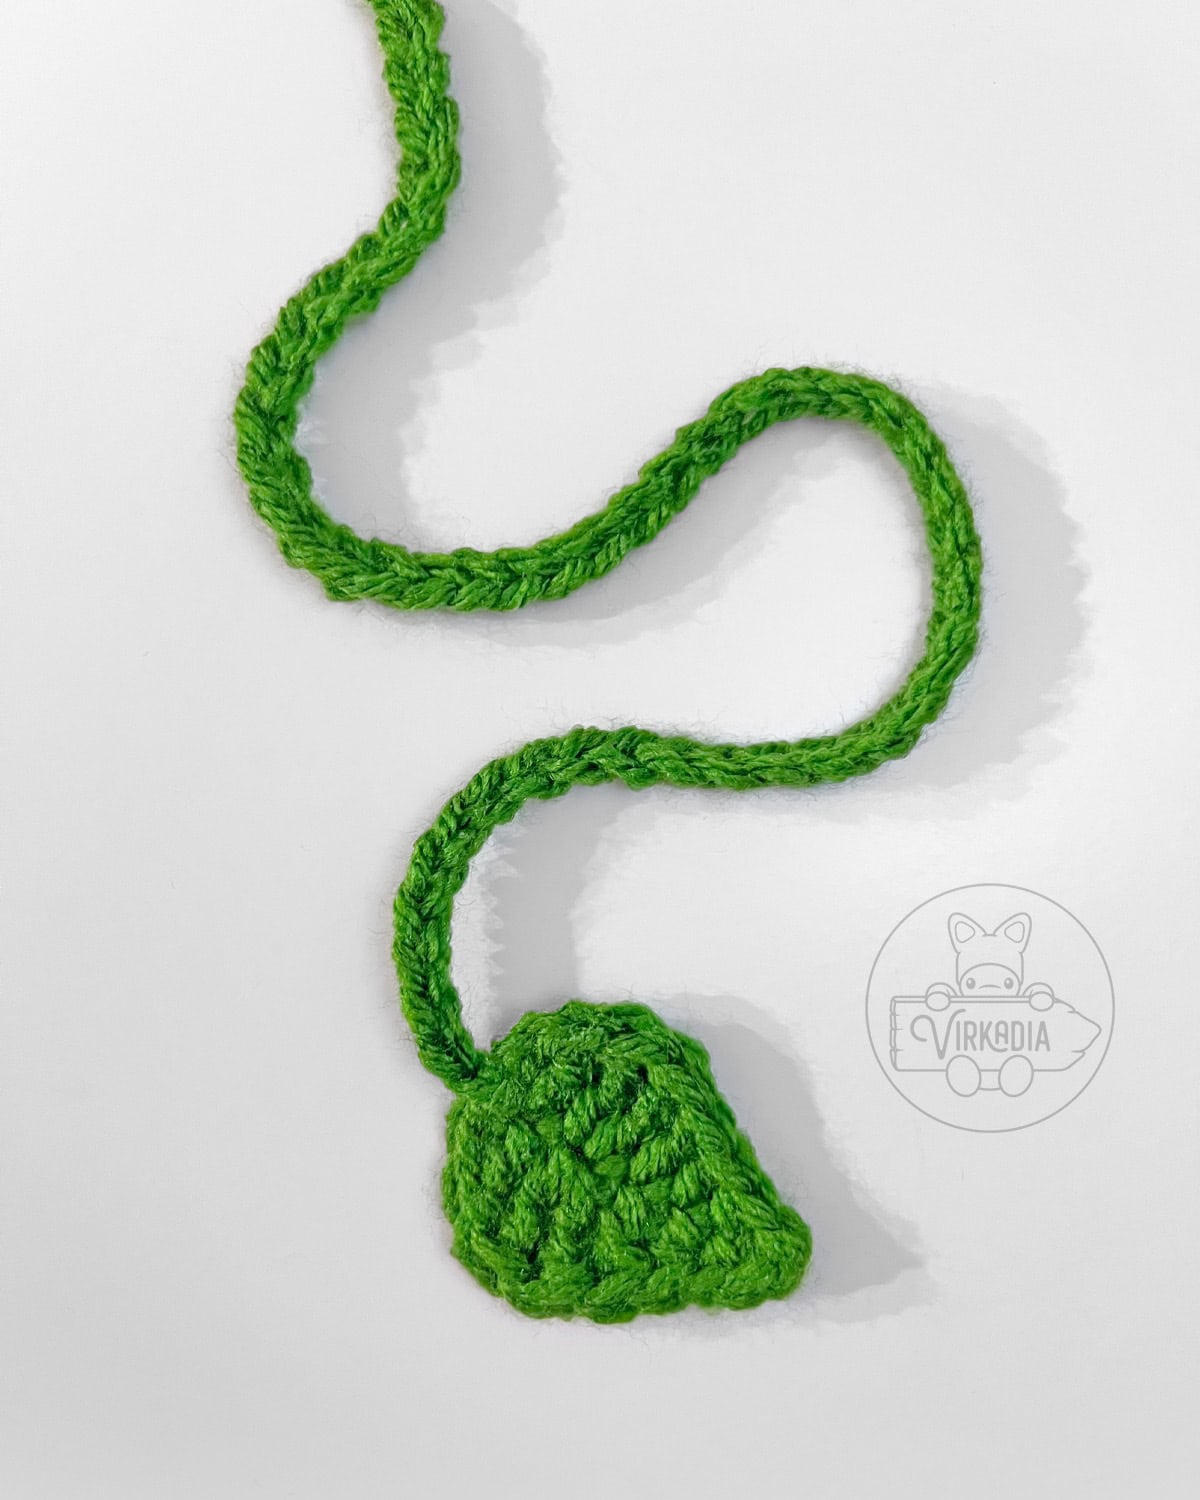
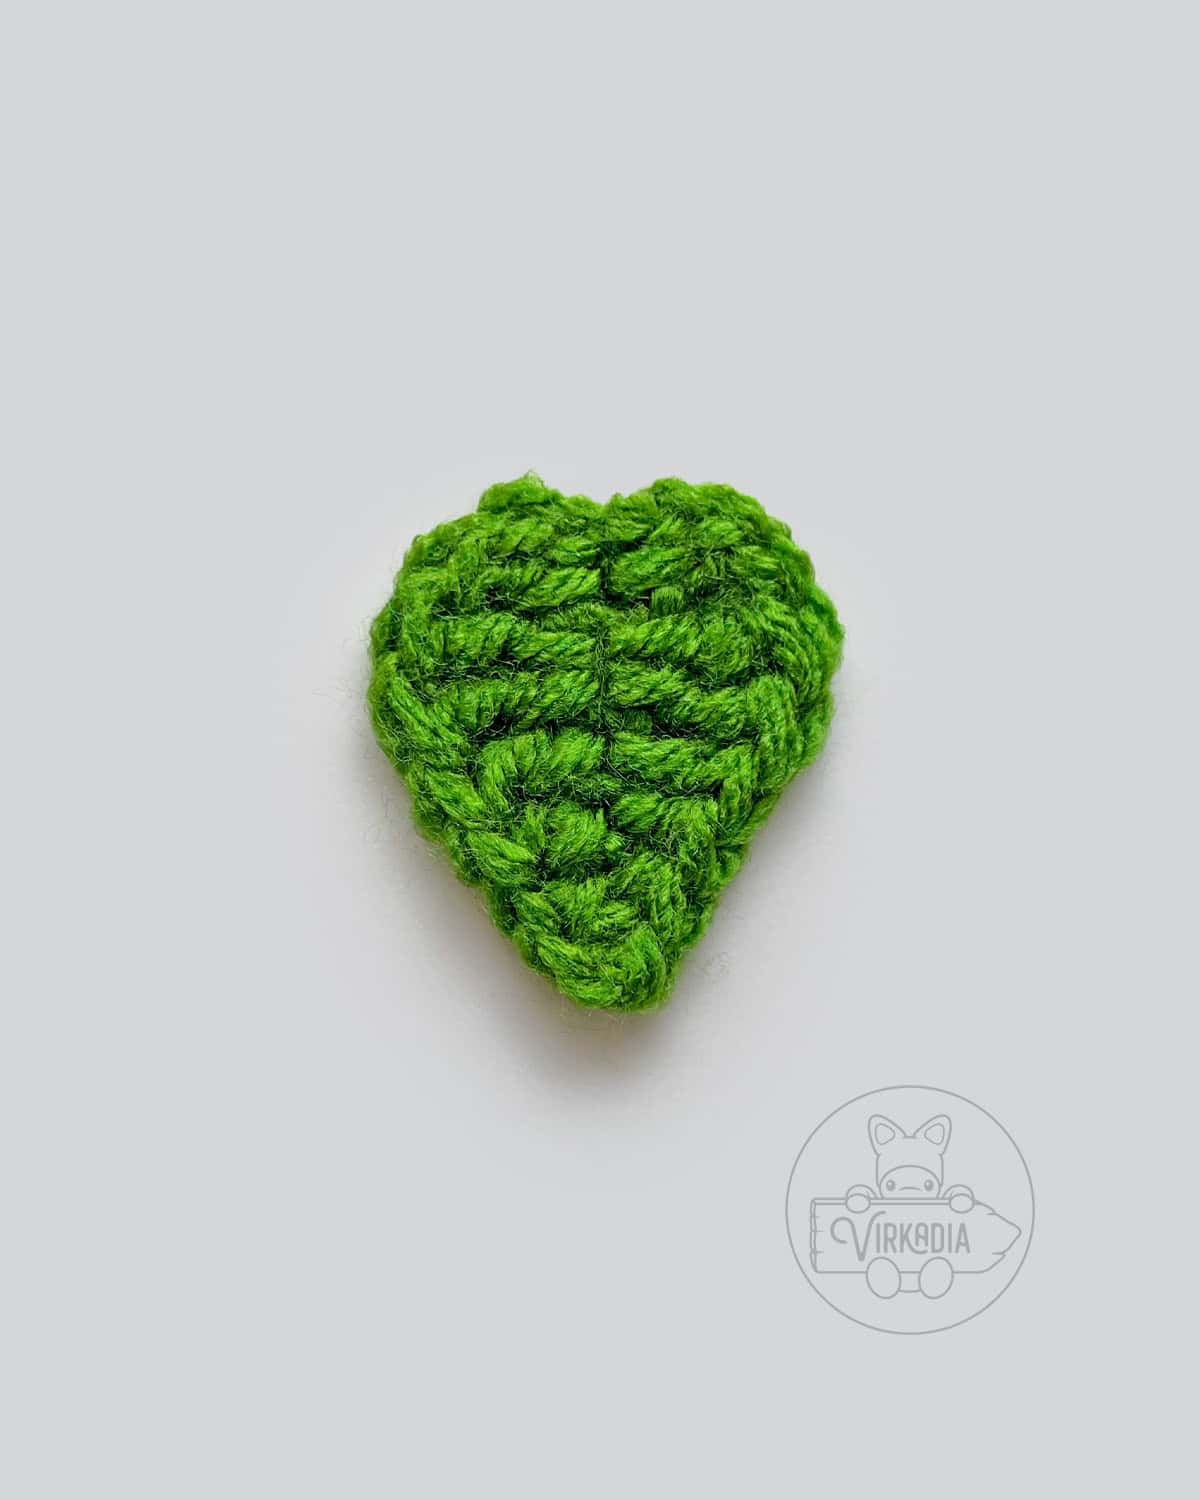
With yarn C (green), use our free Mini Crochet Leaf pattern to create the leaf and string for your mini crochet mushroom bookmark.
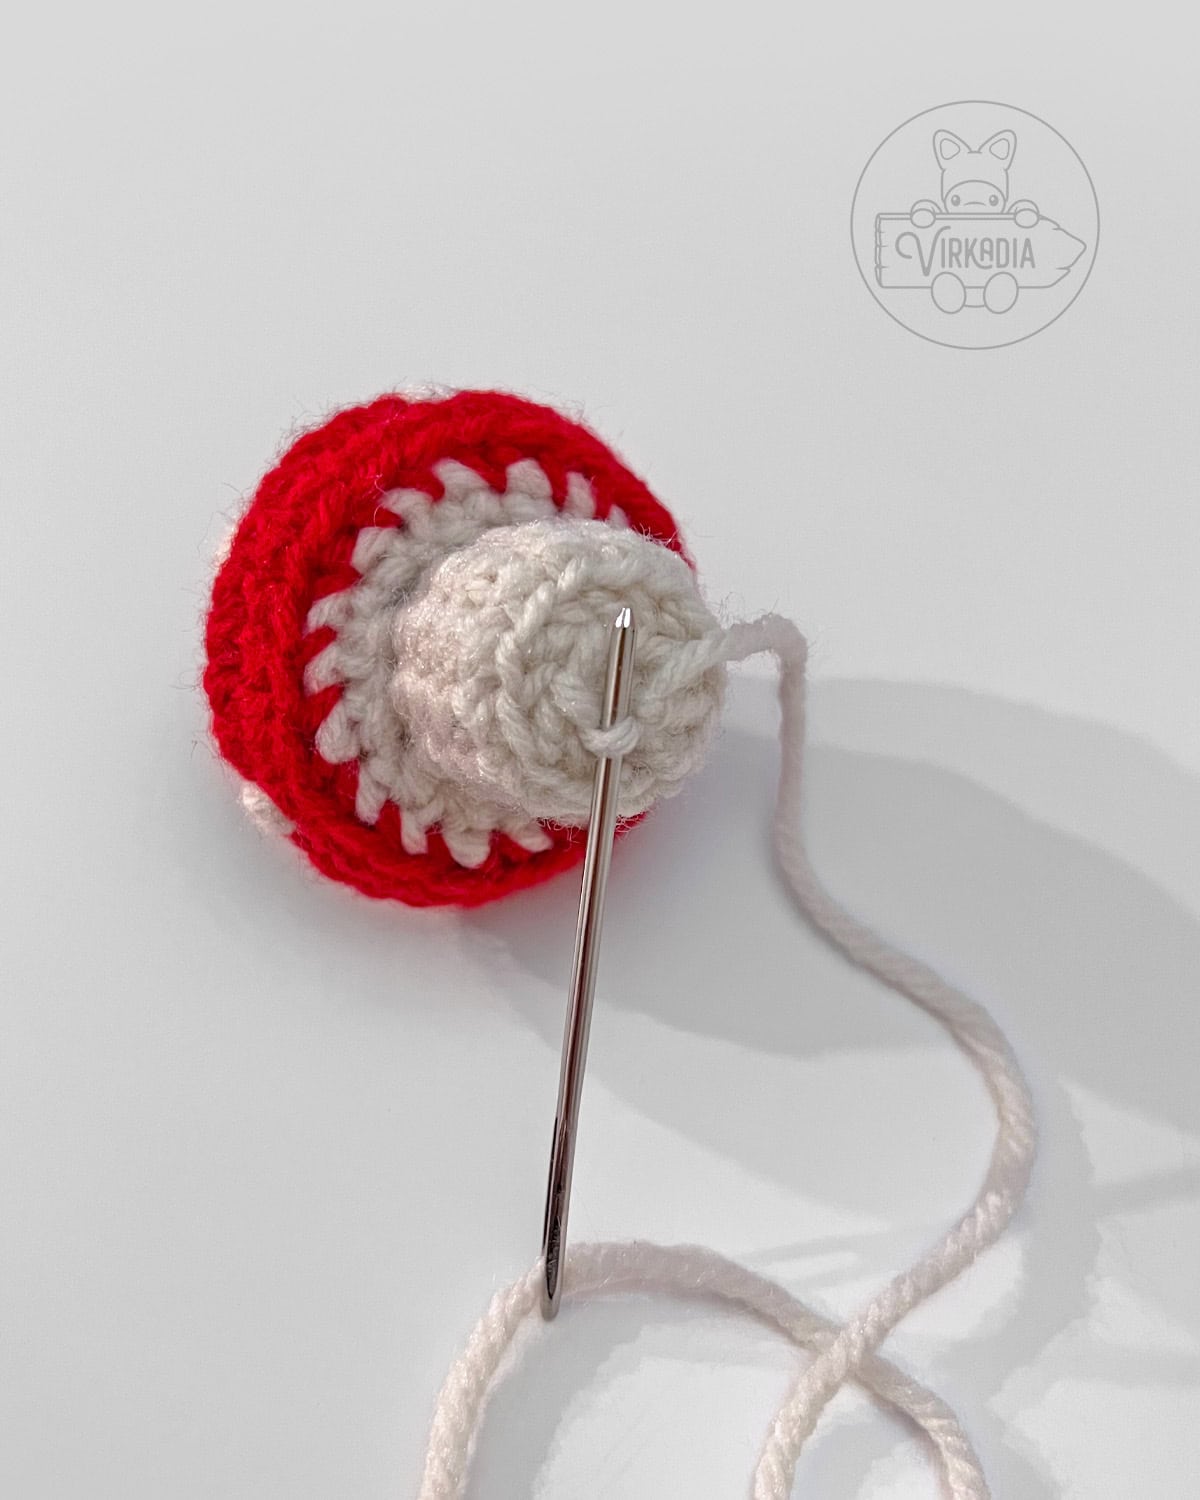
Then, using the tail left over from fastening off of your leaf bookmark, sew through the center ring on the top of your mushroom cap, then out again through any adjacent space.
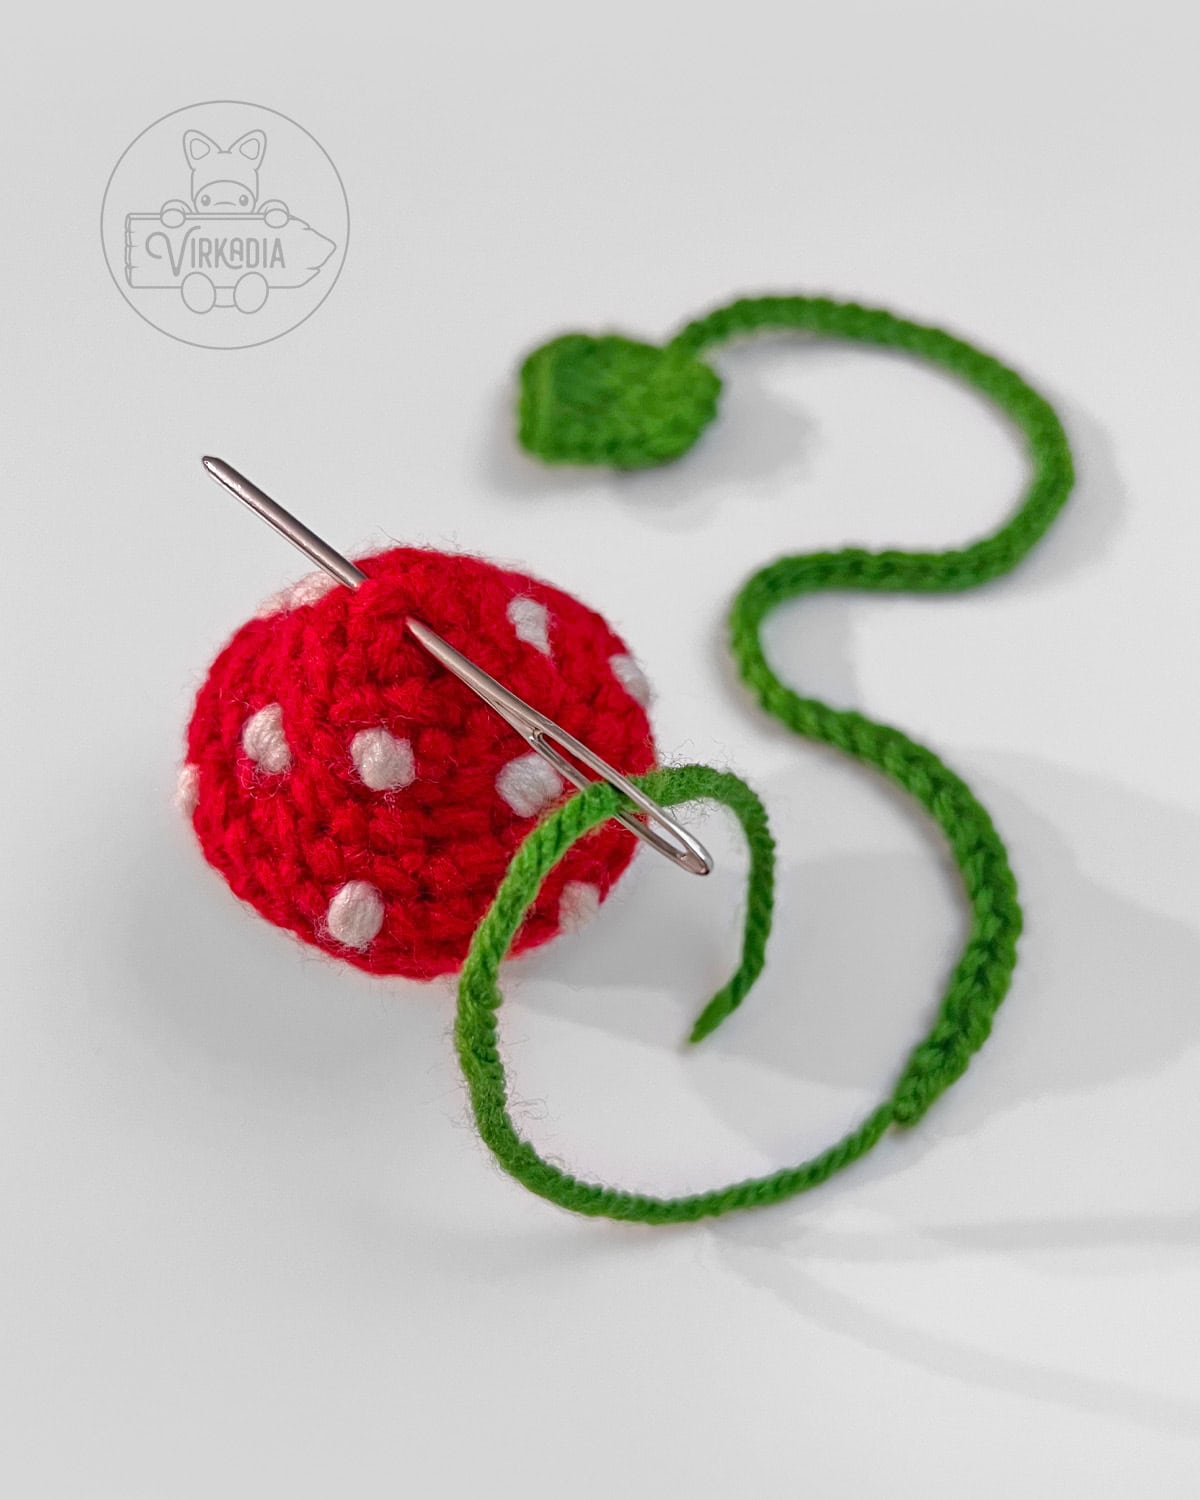
Next, sew your tail back through the bottom stitch of your chain. Repeat these steps one more time, or even more times for a stronger hold, then secure your sewing with a knot.
After knotting, finish off your bookmark by trimming your tail and sewing in any remaining length.
And you’re done! For a full crochet autumn bookmark set, try pairing this pattern with our other free patterns, the Mini Crochet Pumpkin Bookmark and the Mini Crochet Acorn Bookmark, as seen below!
Attaching Garland (Mini Crochet Mushroom Garland Only):
Follow our free Mini Crochet Leaf pattern to create 4 leaf motifs in yarn C (green) for your garland.
Once you have all of your mini crochet mushroom and leaf motif pieces finished, you may begin attaching them together onto your garland string.
The example garland uses 3 mushrooms and 4 leaf motifs, however, you may use more or fewer pieces, for a longer or shorter garland, respectively!
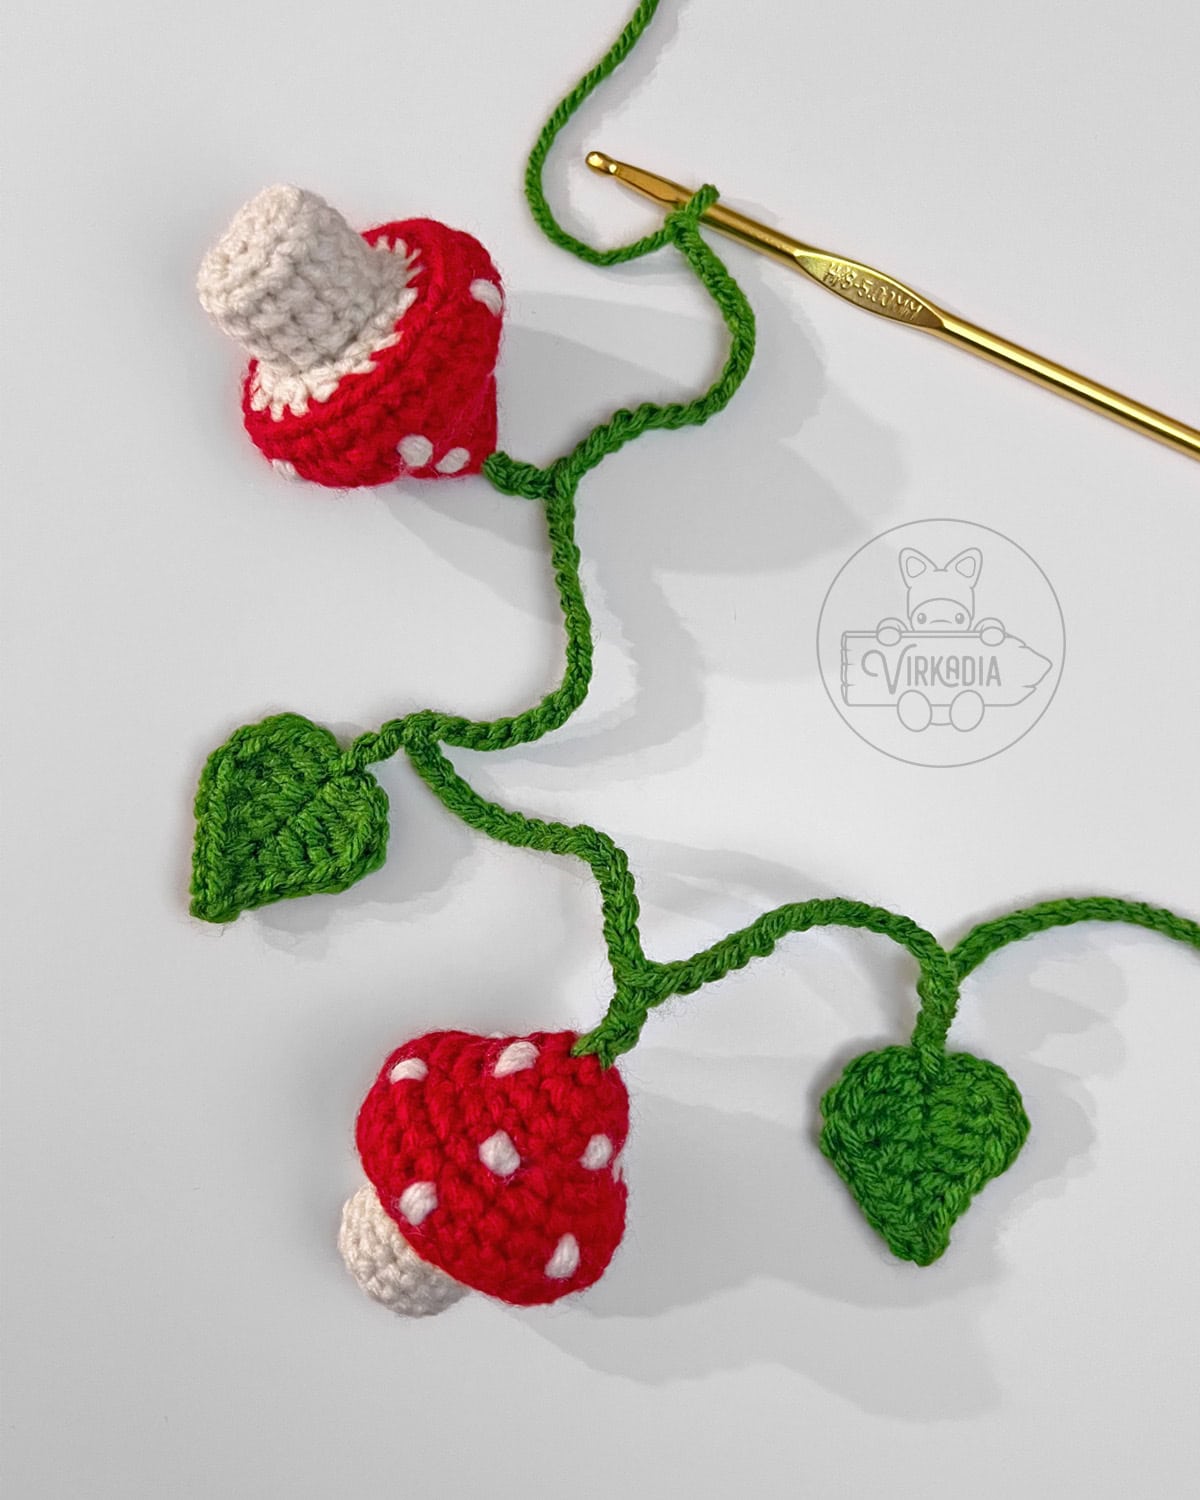
In order to attach each mushroom and leaf to the garland, you will be working 1 treble crochet into the top of each piece.
To attach a leaf motif onto your garland, work 1 treble crochet into the same stitch as your last slip stitch was worked into at the end of round 1.
To attach a mini crochet mushroom onto your garland, work 1 treble crochet into the center top of your mushroom cap.
To do this, begin by inserting your hook into the center ring of the cap, then out again through any adjacent space. Yarn over and pull though, then complete your stitch as normal.
Take care to hold the loops on your hook firmly as you work each treble crochet, so that your wrapped yarn does not come undone!
With yarn C (green), work row 1 below to attach your mushrooms and leaves together into a garland.
If you plan to use your beginning and end tails to tie up your garland, be sure to leave some tail at the beginning of your work.
Row 1: ch 15, 1tr into top of next leaf, ch 15, [1tr into top of next mushroom, ch 15, 1tr into top of next leaf, ch 15] 3 times (127).
The pattern given above is for the example garland, which consists of 3 mushrooms and 4 leaf motifs.
To make the garland longer, simply repeat the bracketed sequence in the pattern once more for each additional mushroom and leaf pair that you’d like to attach.
Once all of your mini crochet mushrooms and leaves are attached and your garland reaches your desired length, fasten off yarn C and leave a tail for either tying or sewing.
Finally, you may use your beginning and end tails to tie up your garland, or weave them into your chain for a more finished look. Choose whichever method works best for you!
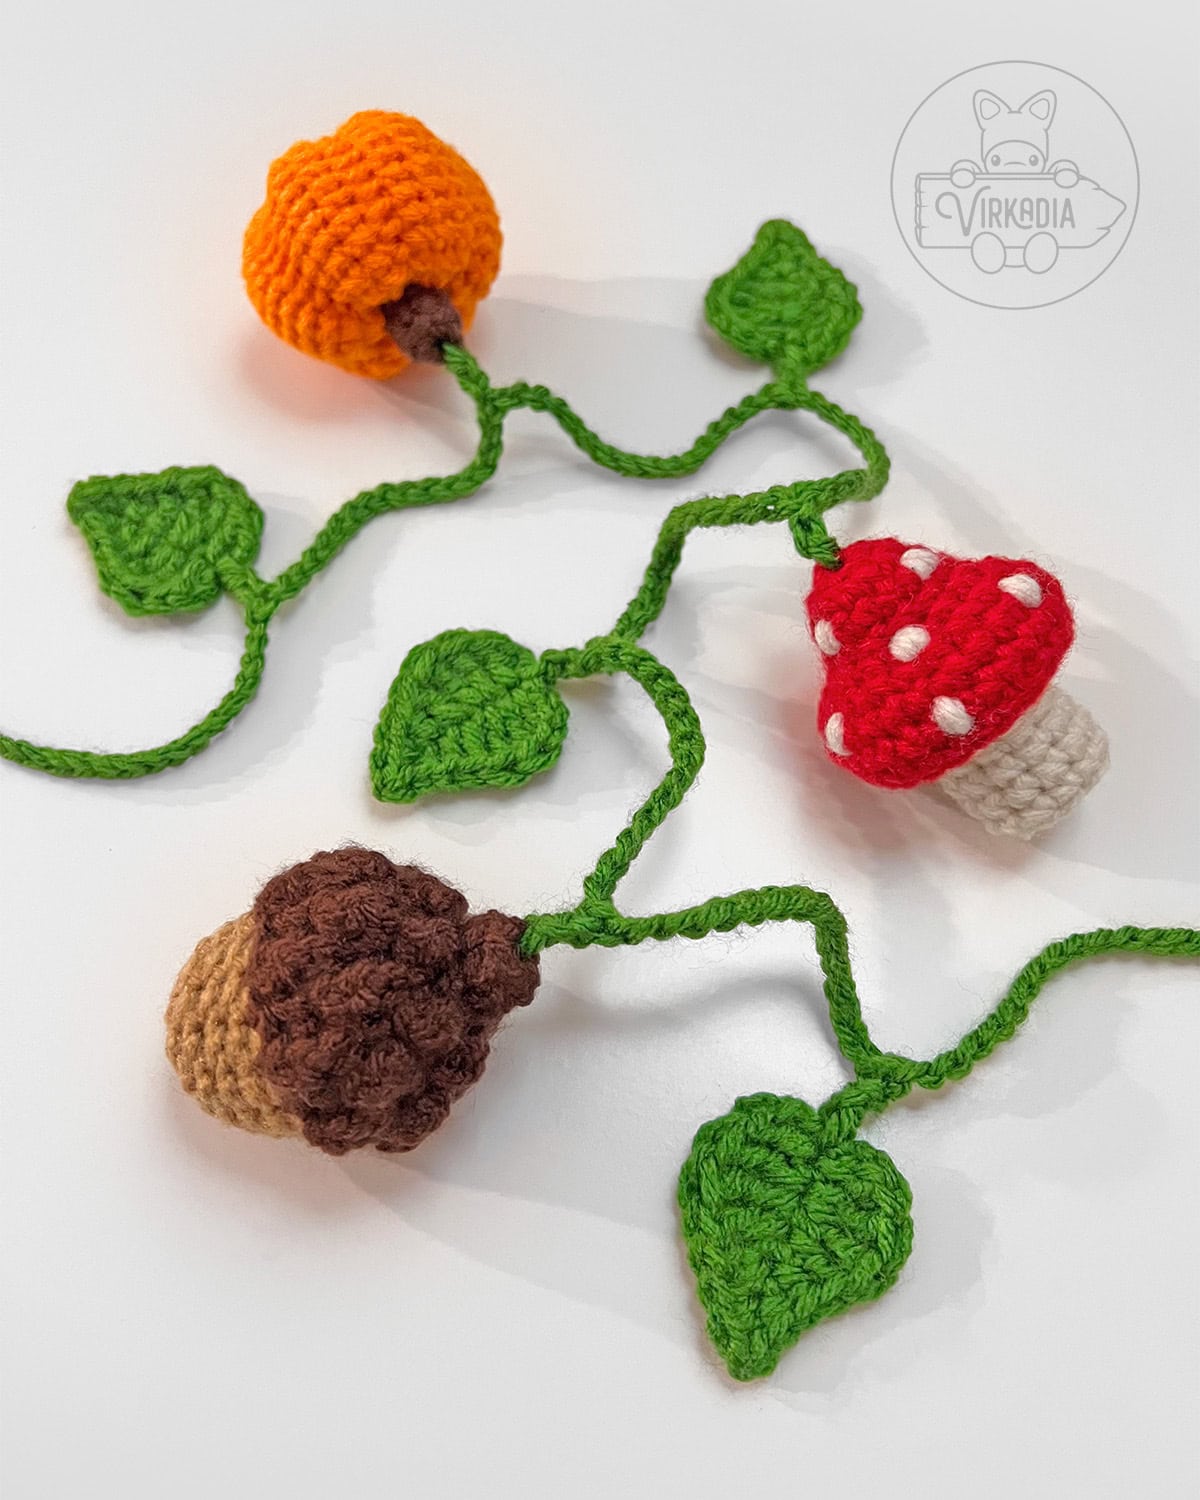
For even more crochet autumn home decor, try combining this pattern with our Mini Crochet Pumpkin and Mini Crochet Acorn patterns!
Simply swap out any mushroom in row 1 above with a pumpkin or acorn for an even more varied and festive fall garland!
Conclusion | Mini Crochet Mushroom Amigurumi
And with that, you’re done the free Mini Crochet Mushroom Bookmark & Garland Set! If you enjoyed this pattern, be sure to check out its two mix-and-match compatible patterns, the Mini Crochet Pumpkin Bookmark & Garland Set and the Mini Crochet Acorn Bookmark & Garland Set, to create a full crochet autumn decor set!
You can also explore the Cutie Collections and the Pocket Pets archives for more original and free amigurumi patterns, or our Home Decor Patterns for other homemade household goodies!
If you’re looking to cozy up with a longer project, check out our Clothing Patterns, or assemble your own designs from one of our Granny Square Patterns!
And don’t forget to browse our downloadable, ad-free patterns in our Etsy store!
Follow Virkadia on Instagram to stay updated on all new and upcoming patterns, crochet content, and amigurumi adventures! Thank you for all of your support!

Hey hey, I'm Joey Diehl!
I am the fiber artist behind Virkadia! I have a BFA in Fibers & Material Studies and have been crocheting for over 20 years. I have designed, photographed, and written dozens of original crochet patterns that I am honored to have been shared to hundreds of thousands of readers.

Etel Ivan says
Beautiful pattern, I just made the mushroom. I love it. Thank you so much for this free pattern.
Virkadia says
Thank you so much for your kind words—I'm so glad you like it! ❤️